Goals
- Build the lamp
- Build the mold
Build the lamp
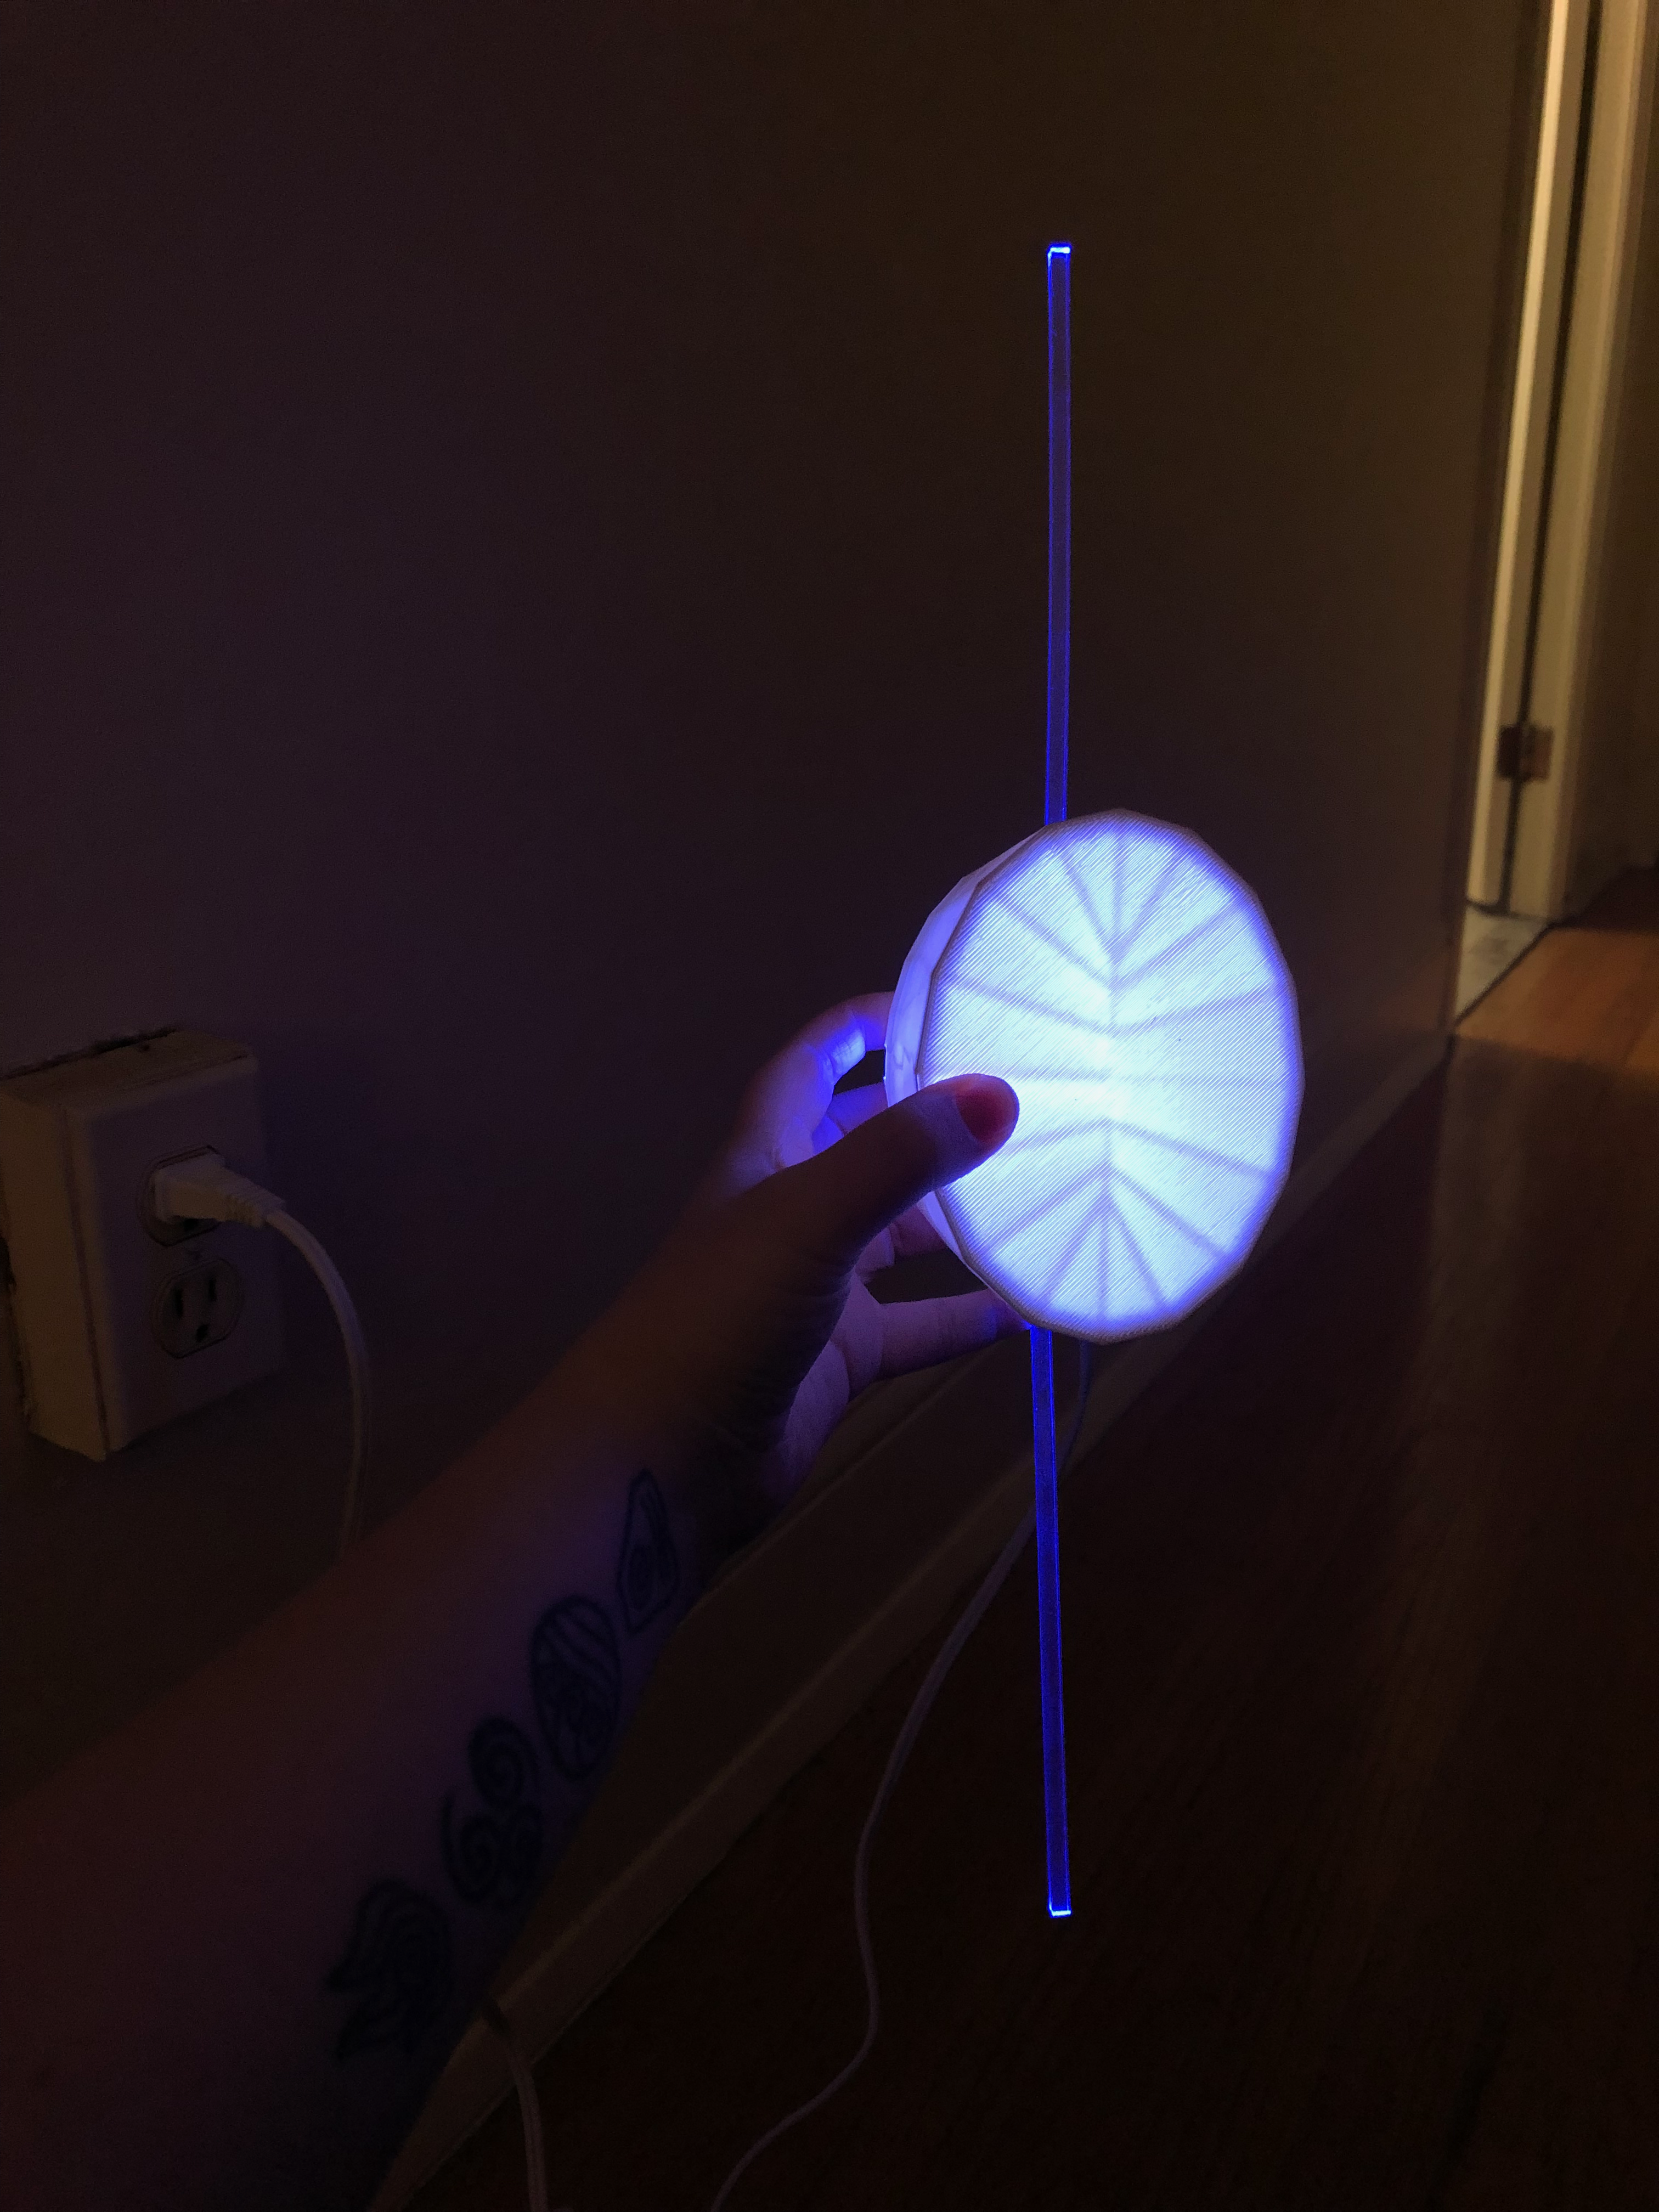
My first idea for the lamp was to create a version of the disintegration ray from Duck Dodgers, but I ended up hating that design once I'd built it. I 3D printed an oval shaped container for the light and was planning on using acrylic to conduct the light outwards, but it just wouldn't look how I wanted and I didn't like seeing the lines from the 3D print.
I decided to pivot to a new design, and I'm very happy I did.
Plan B
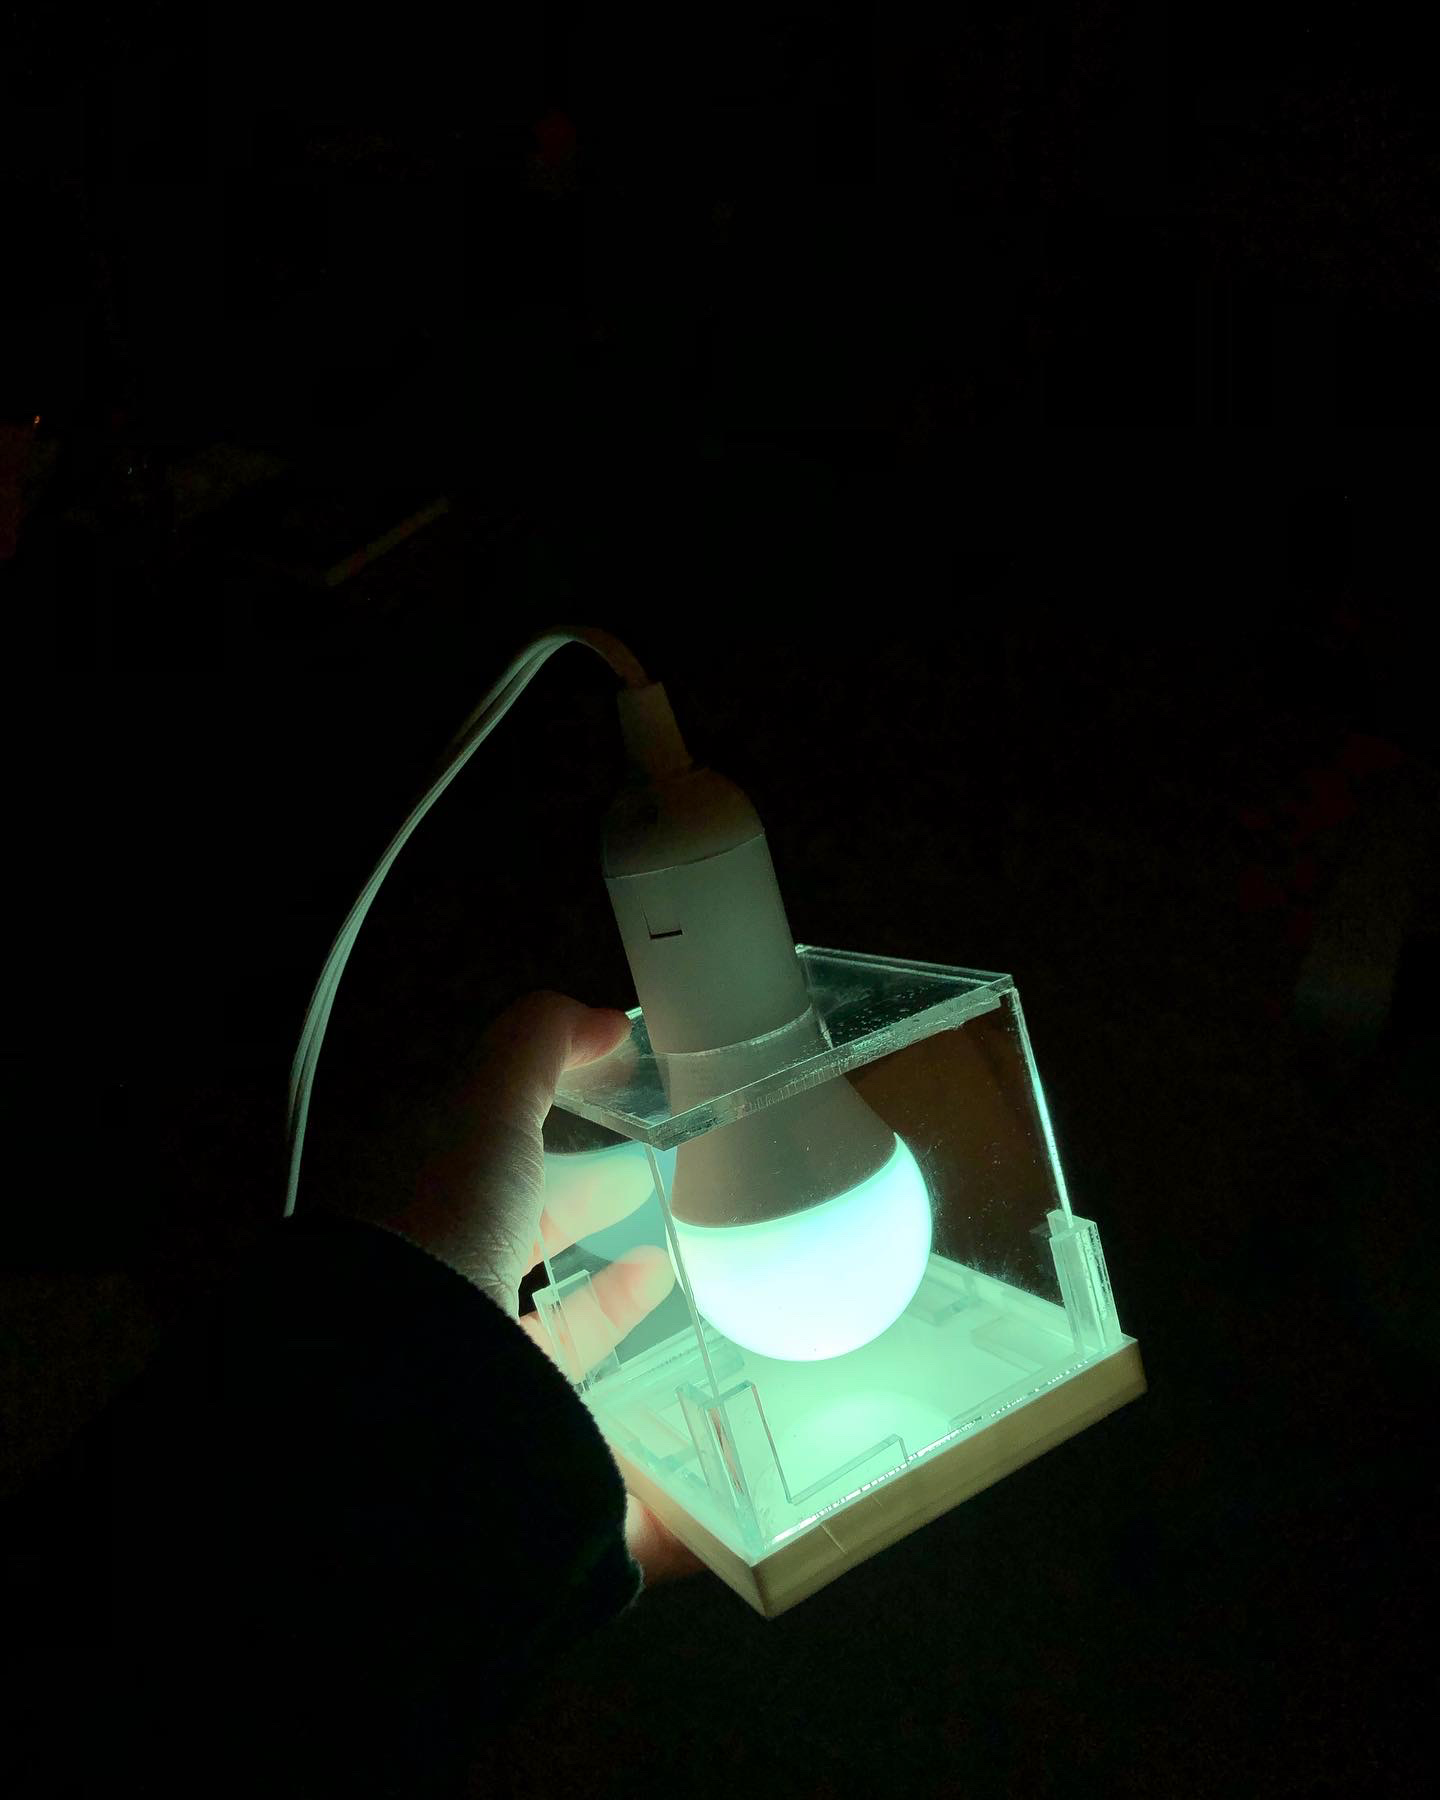
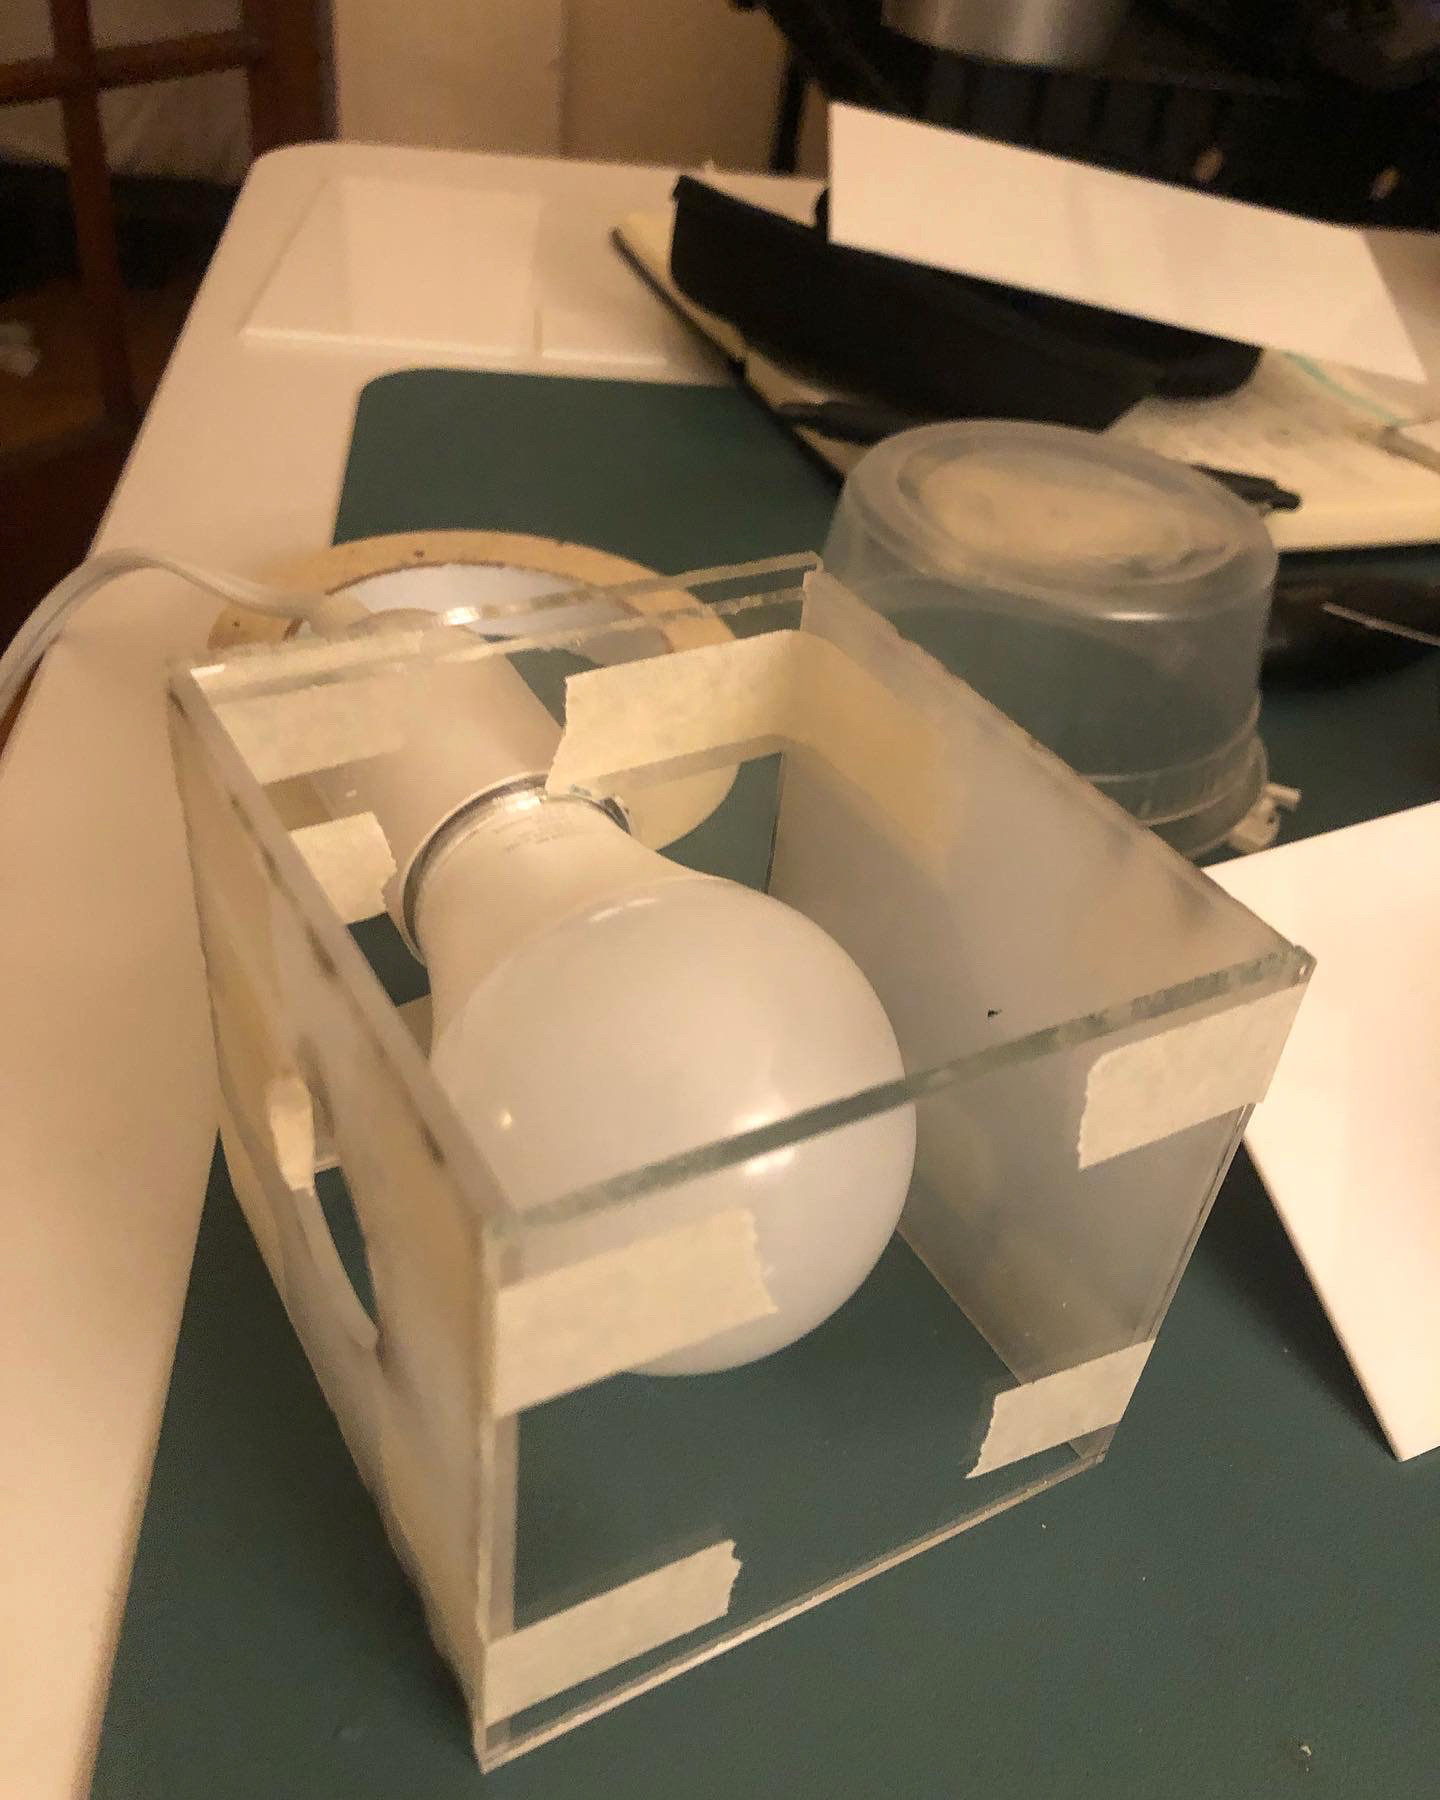
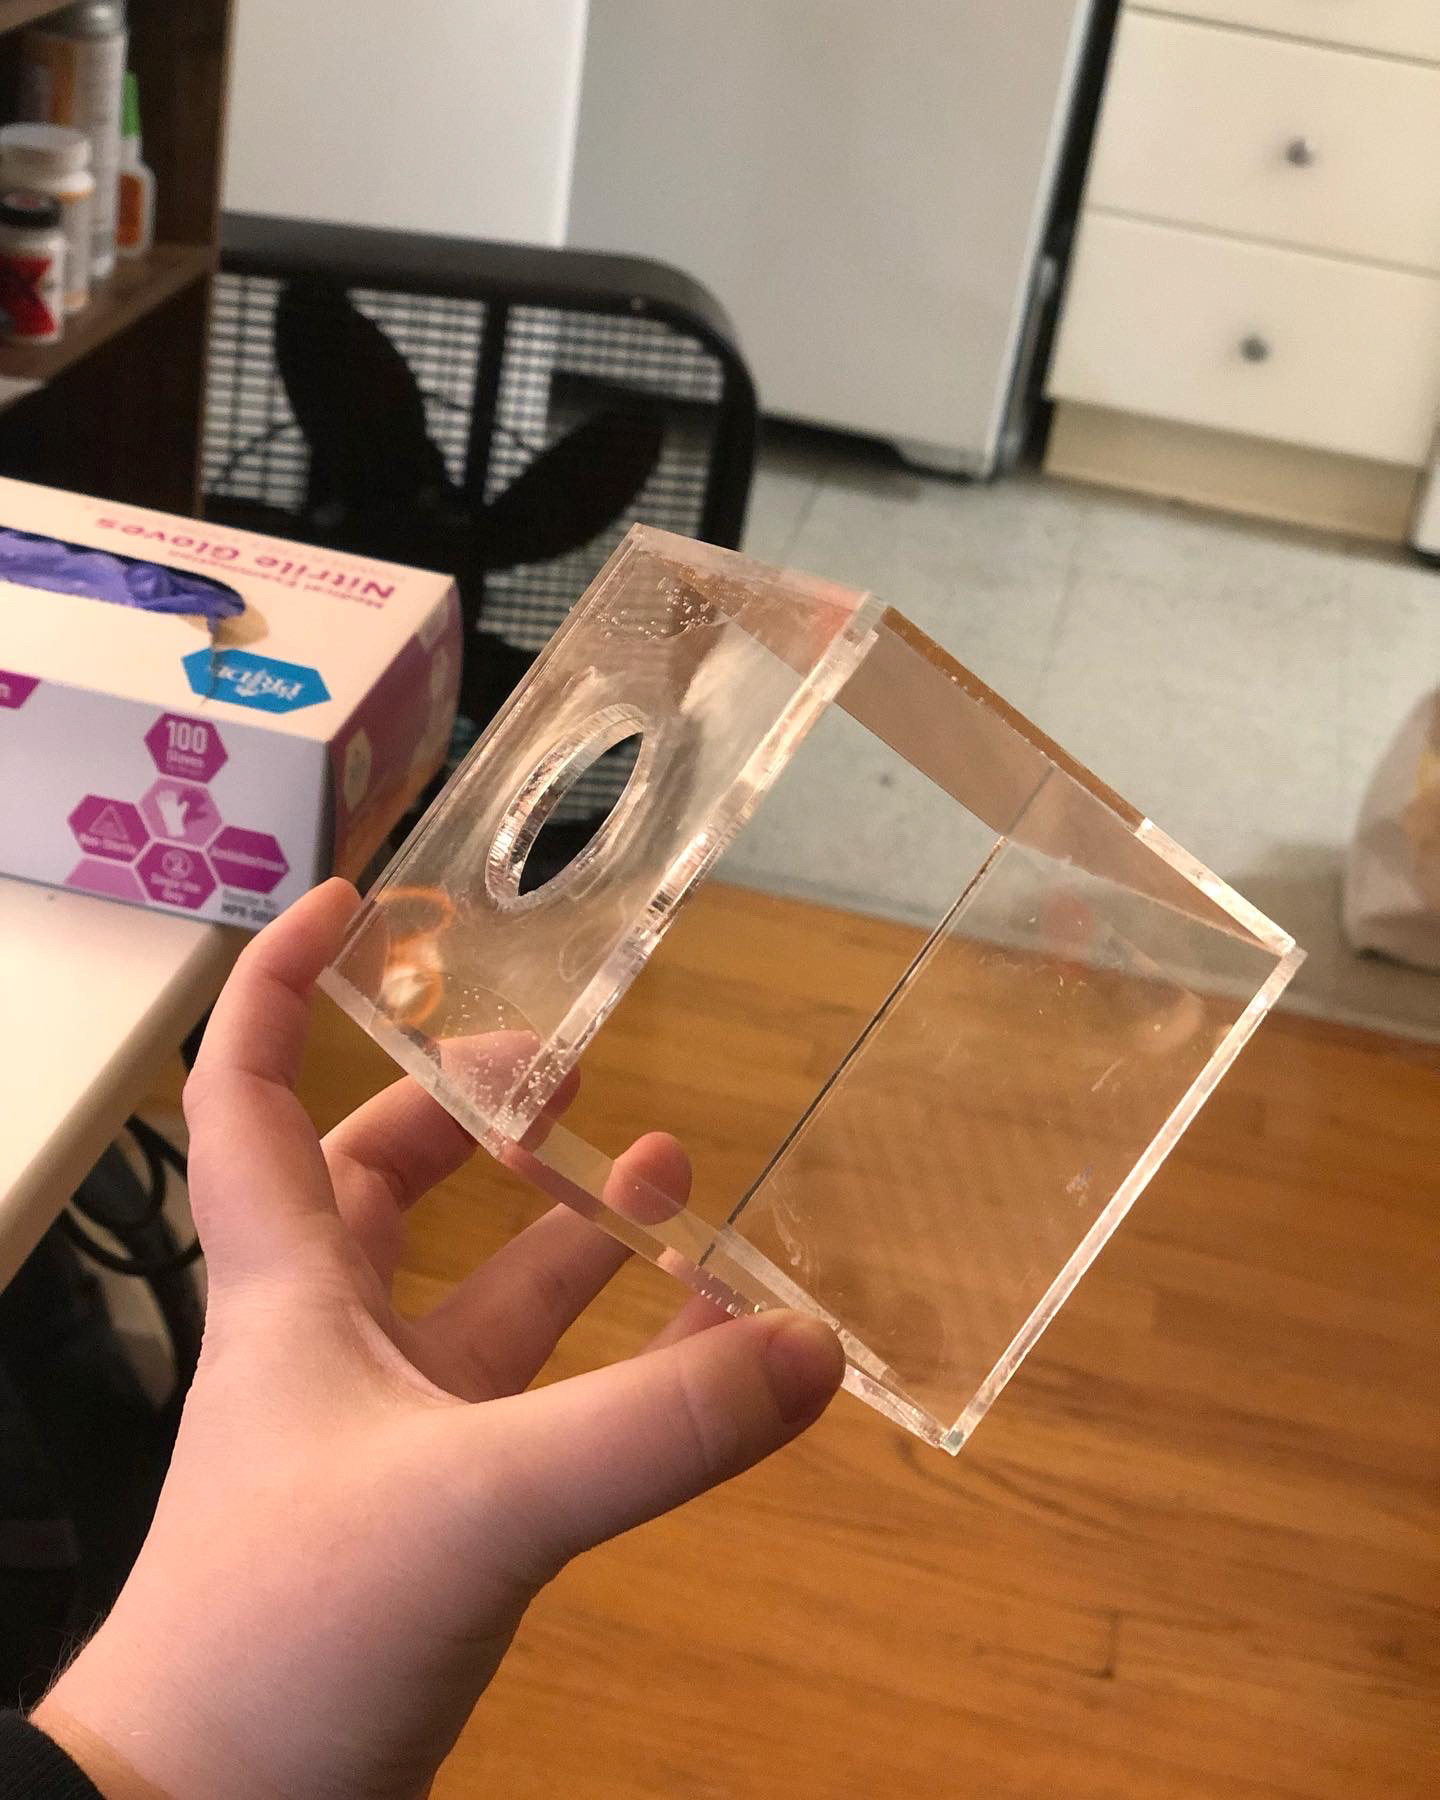
I've been planning on using acrylic for my final project, so I wanted to use this assignment as a chance to test it out. I struggled with tolerance during the CNC assignment, so I focused very intensely on getting the box to have perfect right angles and made them sit flush by having a smaller piece attached to the lightbulb adapter. All of the sides sit tightly against the bottom's spacer plate.
I made a prototype by taping together pieces of acrylic scrap because I didn't want to commit to the plan if I didn't like the potential end result. I ended up loving it and designed the lamp in Rhino for perfect cuts.


I cut my materials and used the scrap from those cuts to make L's that I glued together to form right angle supports. I used hot glue to assemble them for testing, then cleaned the excess glue off with a chisel. I used acrylic adhesive to bond them for the long term.
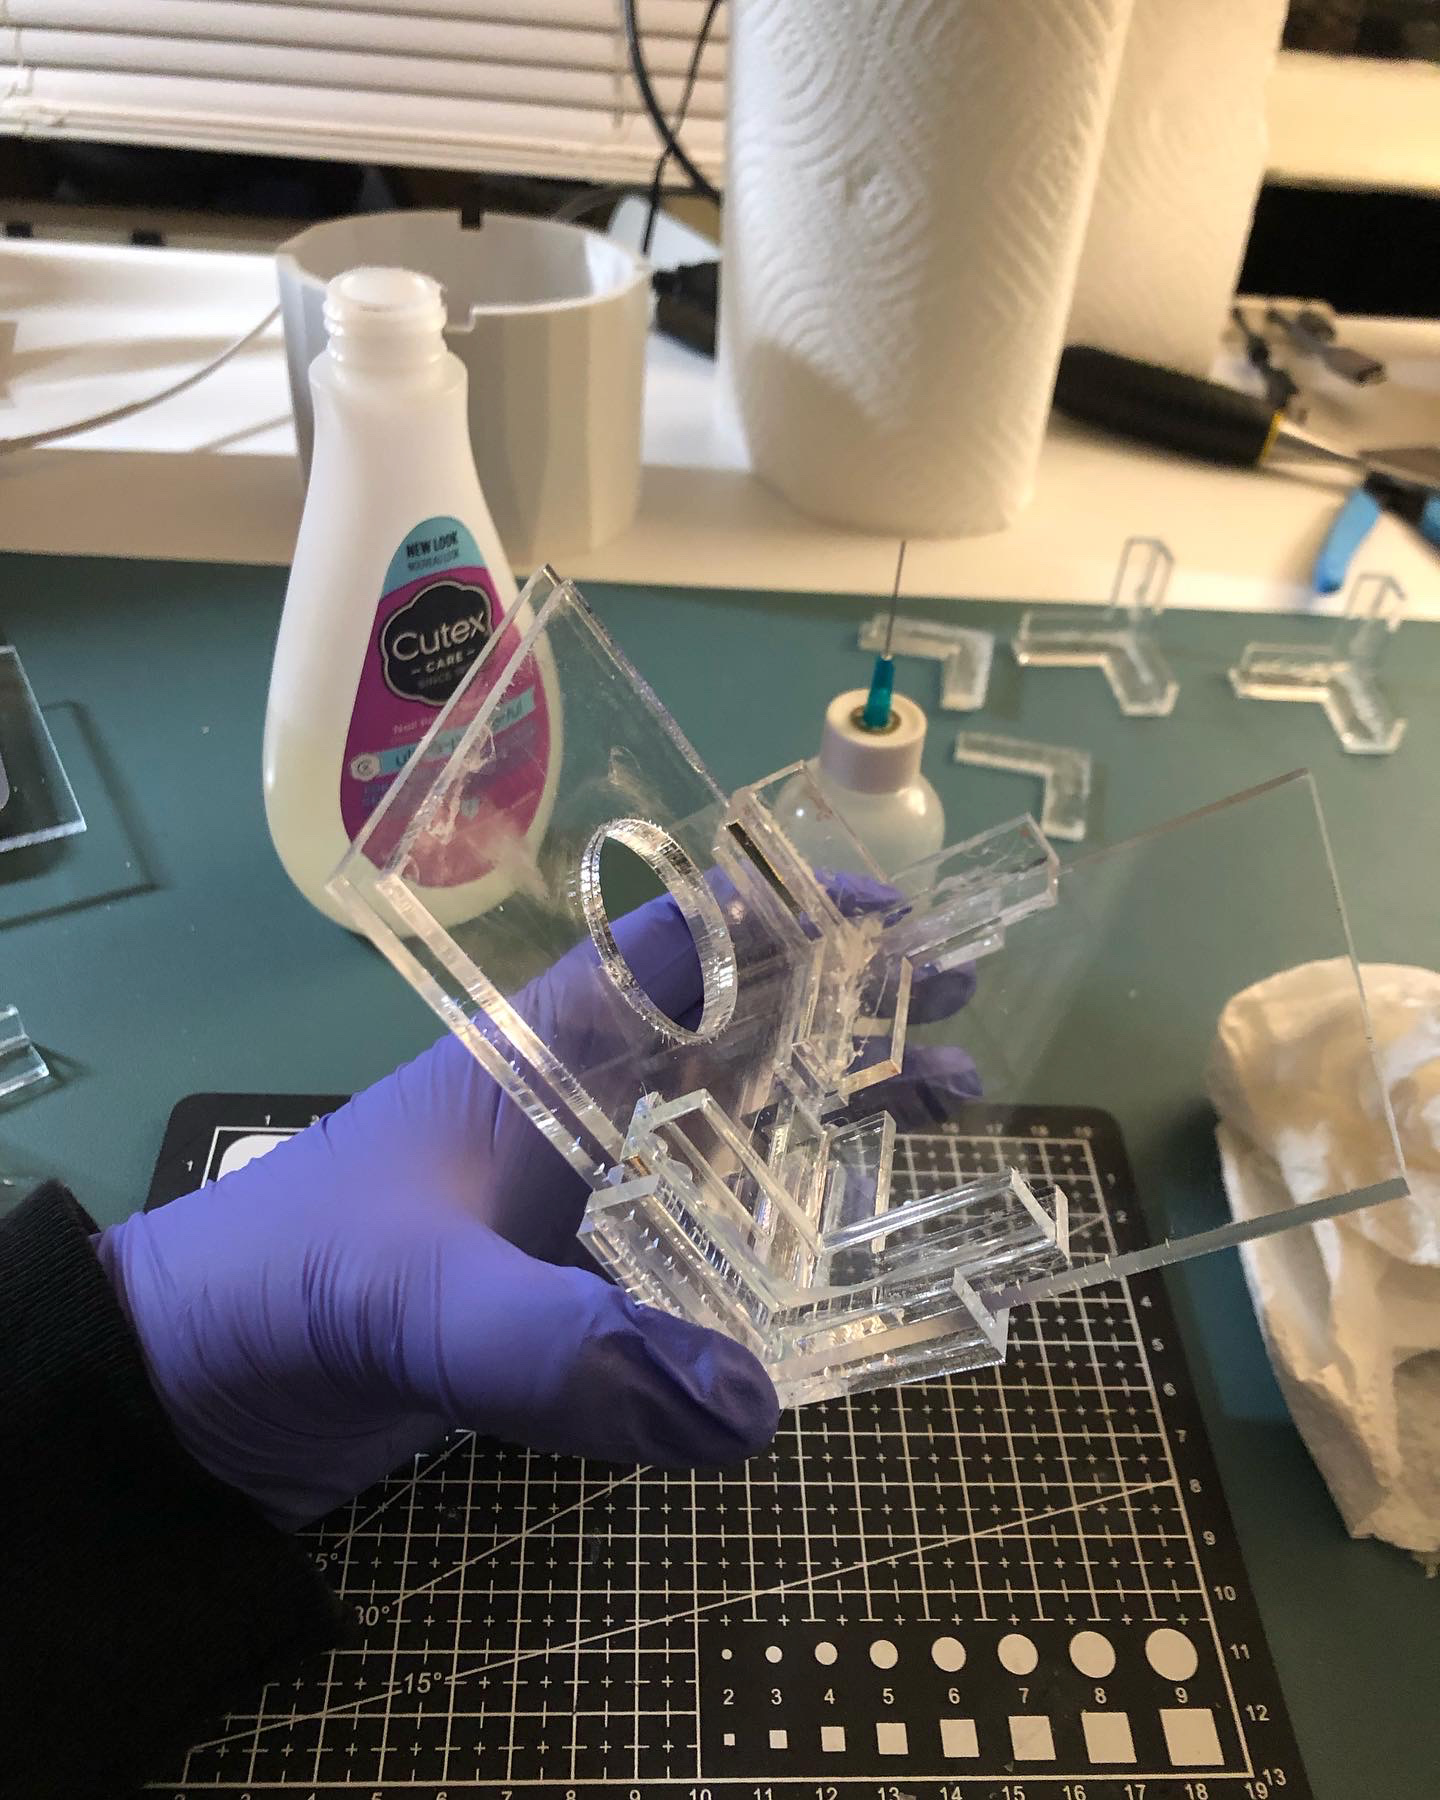
I'm very glad that I had the idea for the supports, because they made assembling the box itself so much easier. I did a dry fit of the laser cut parts before assembling the box with adhesive.
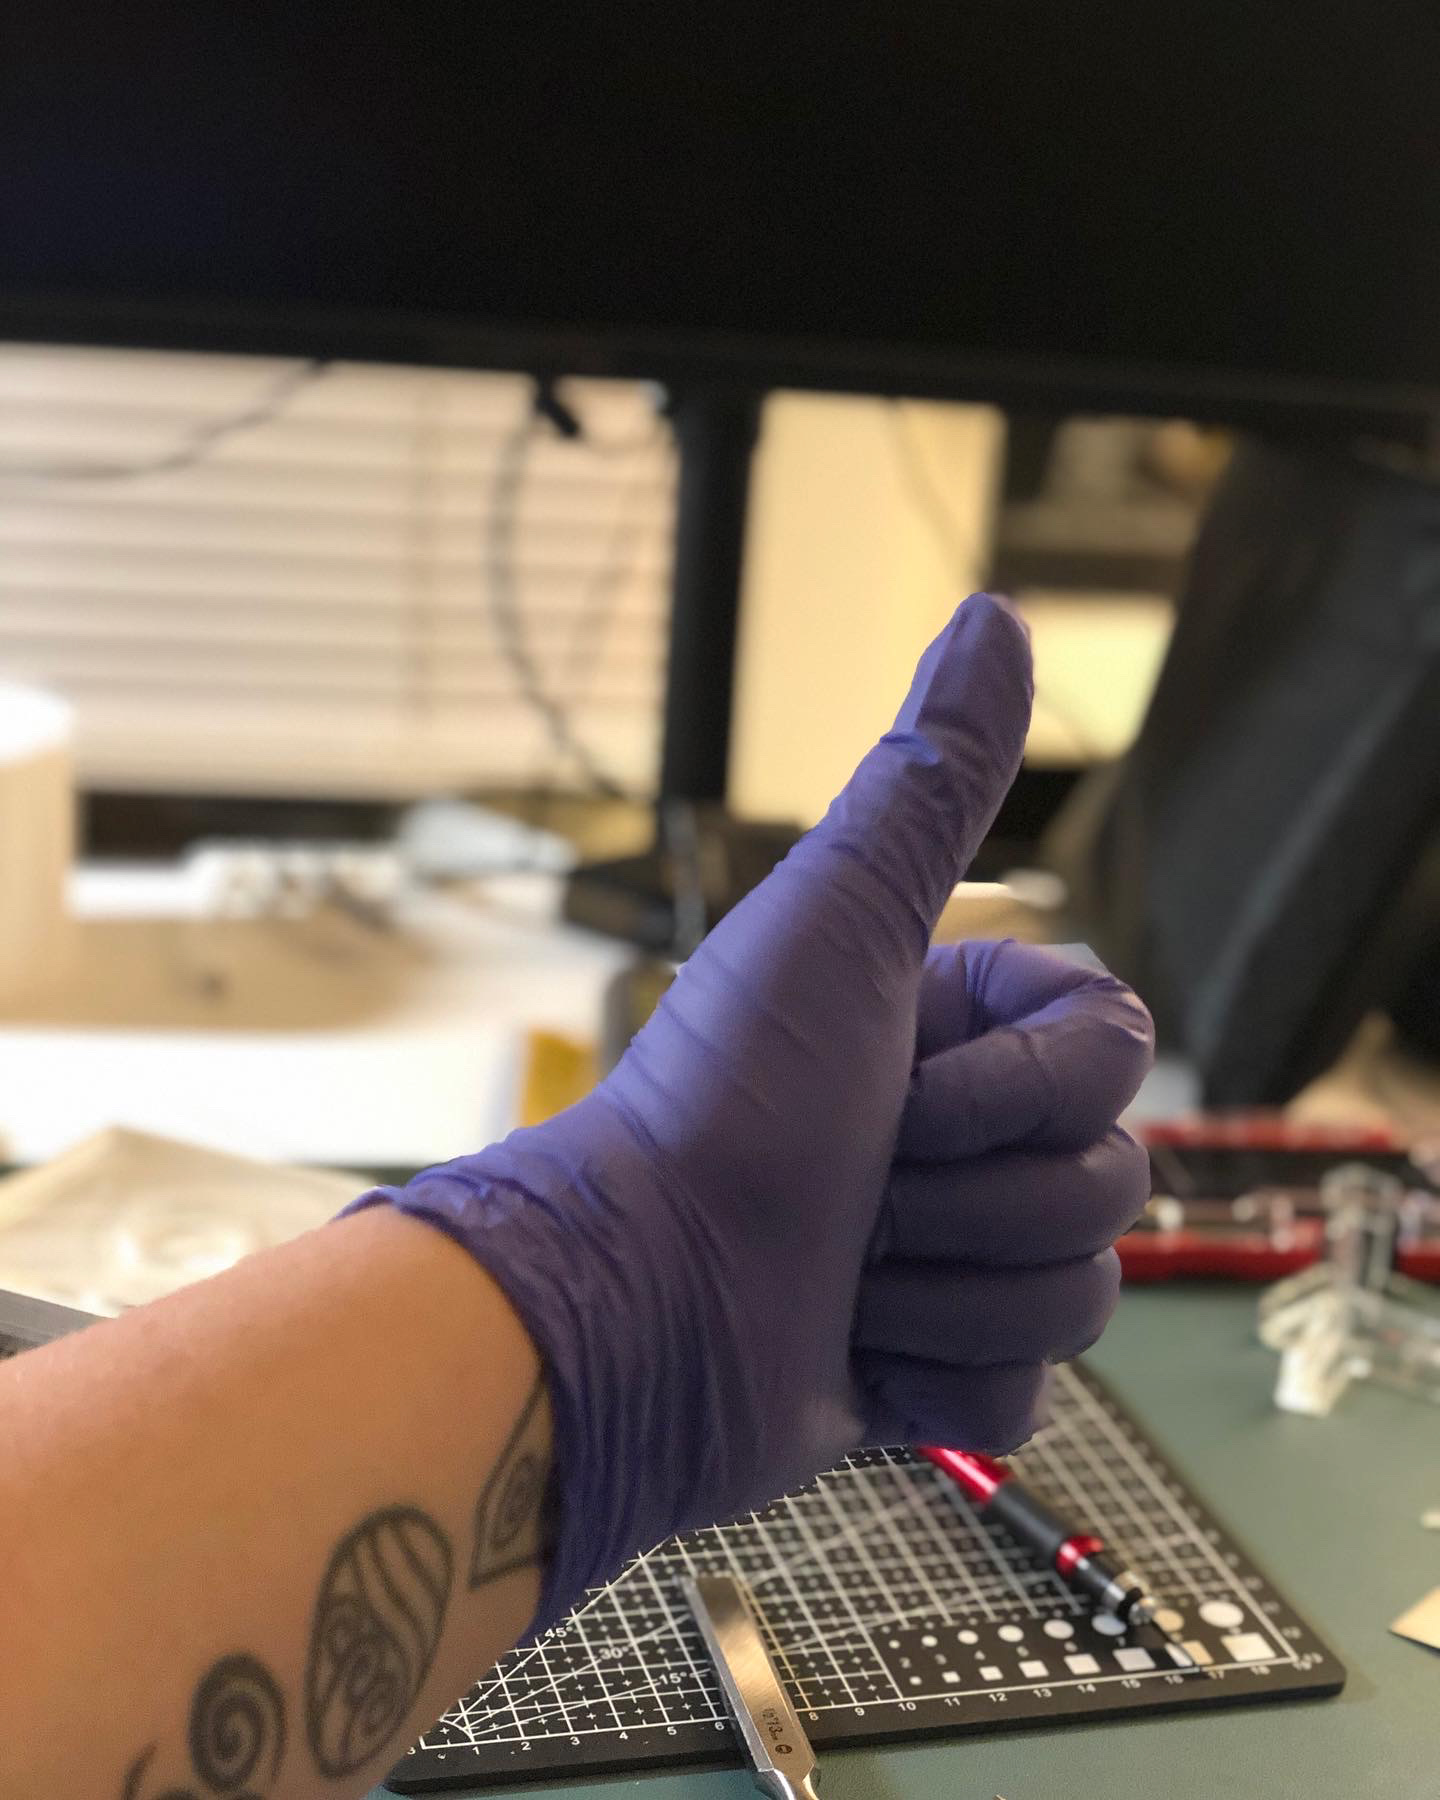
I have definitely roughed up my hands this quarter with my building methods. I can be a little reckless. I made sure to wear gloves while using the adhesive, which I'm VERY GLAD ABOUT because the adhesive splashed onto my desk when I cut the can open. Thankfully, I have a silicone pad on my desk already.
I glued the box together with the adhesive, thankful that I had the right angle supports to figure out how to use the adhesive. I expected it to be closer consistency to caulk, but it was a pure liquid. It had a bit of a learning curve, but I'm glad I learned it before I start my final project.

The adhesive cured very quickly, and now I have an acrylic cube lamp!
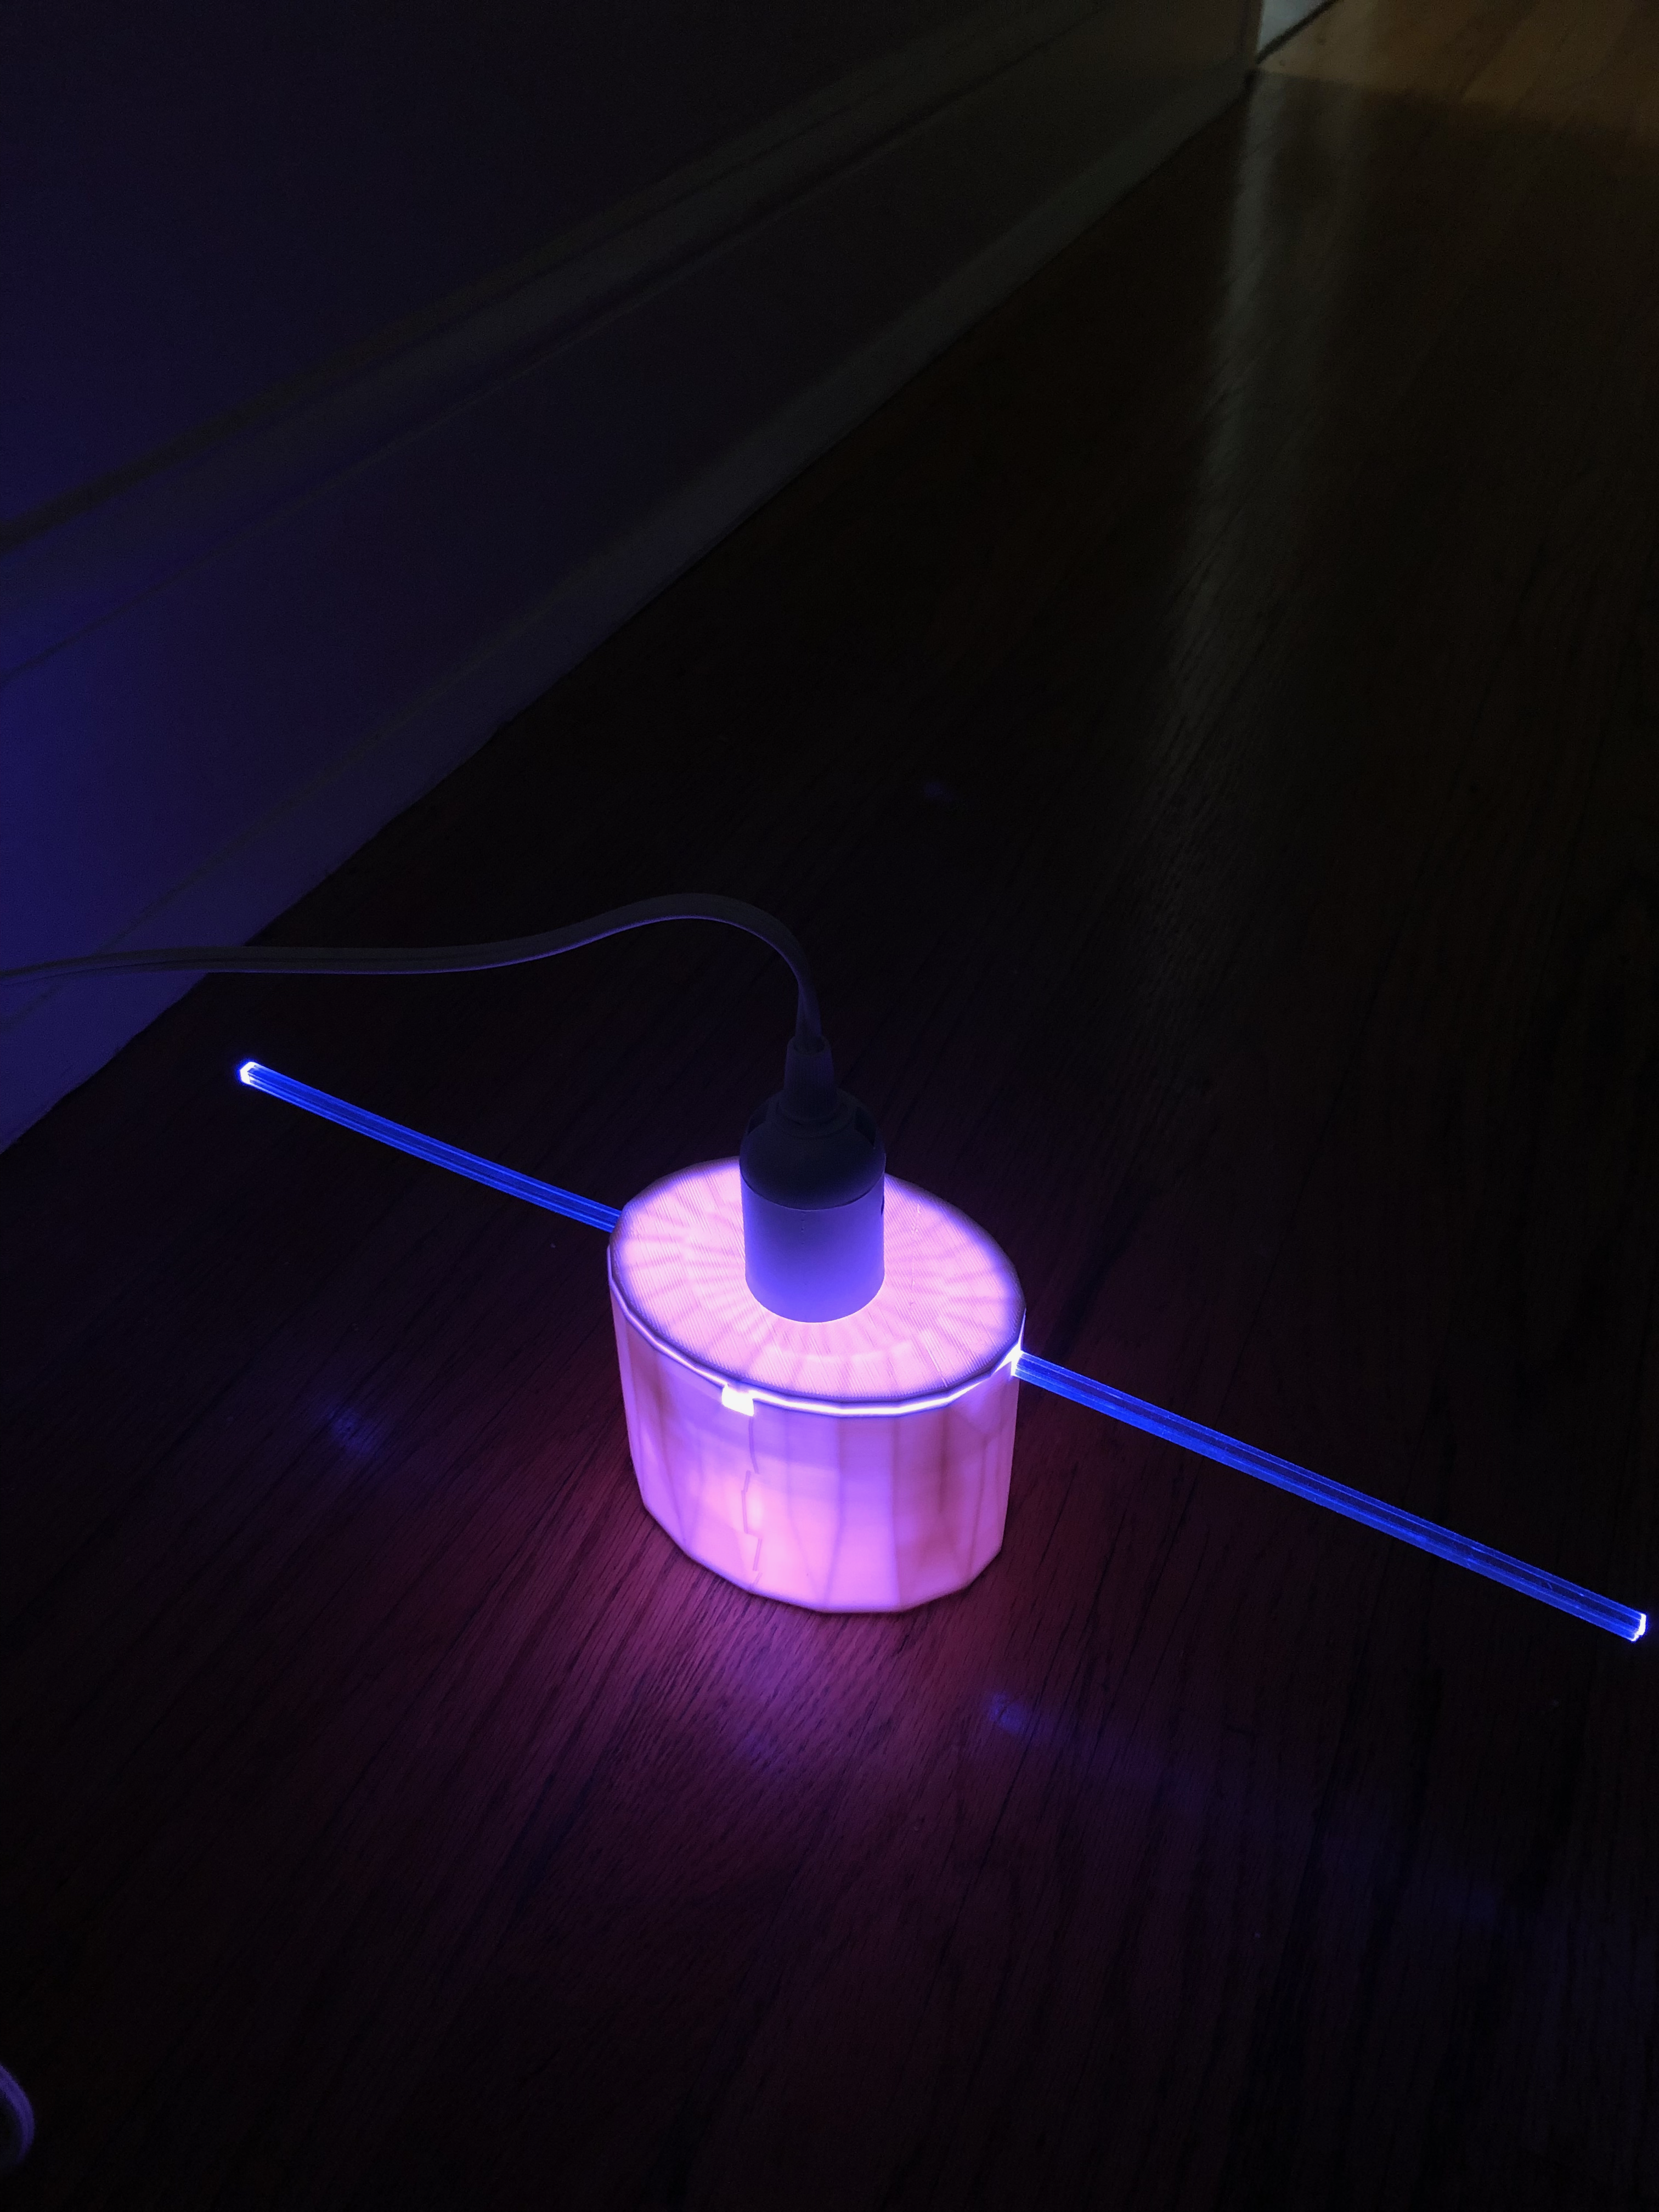
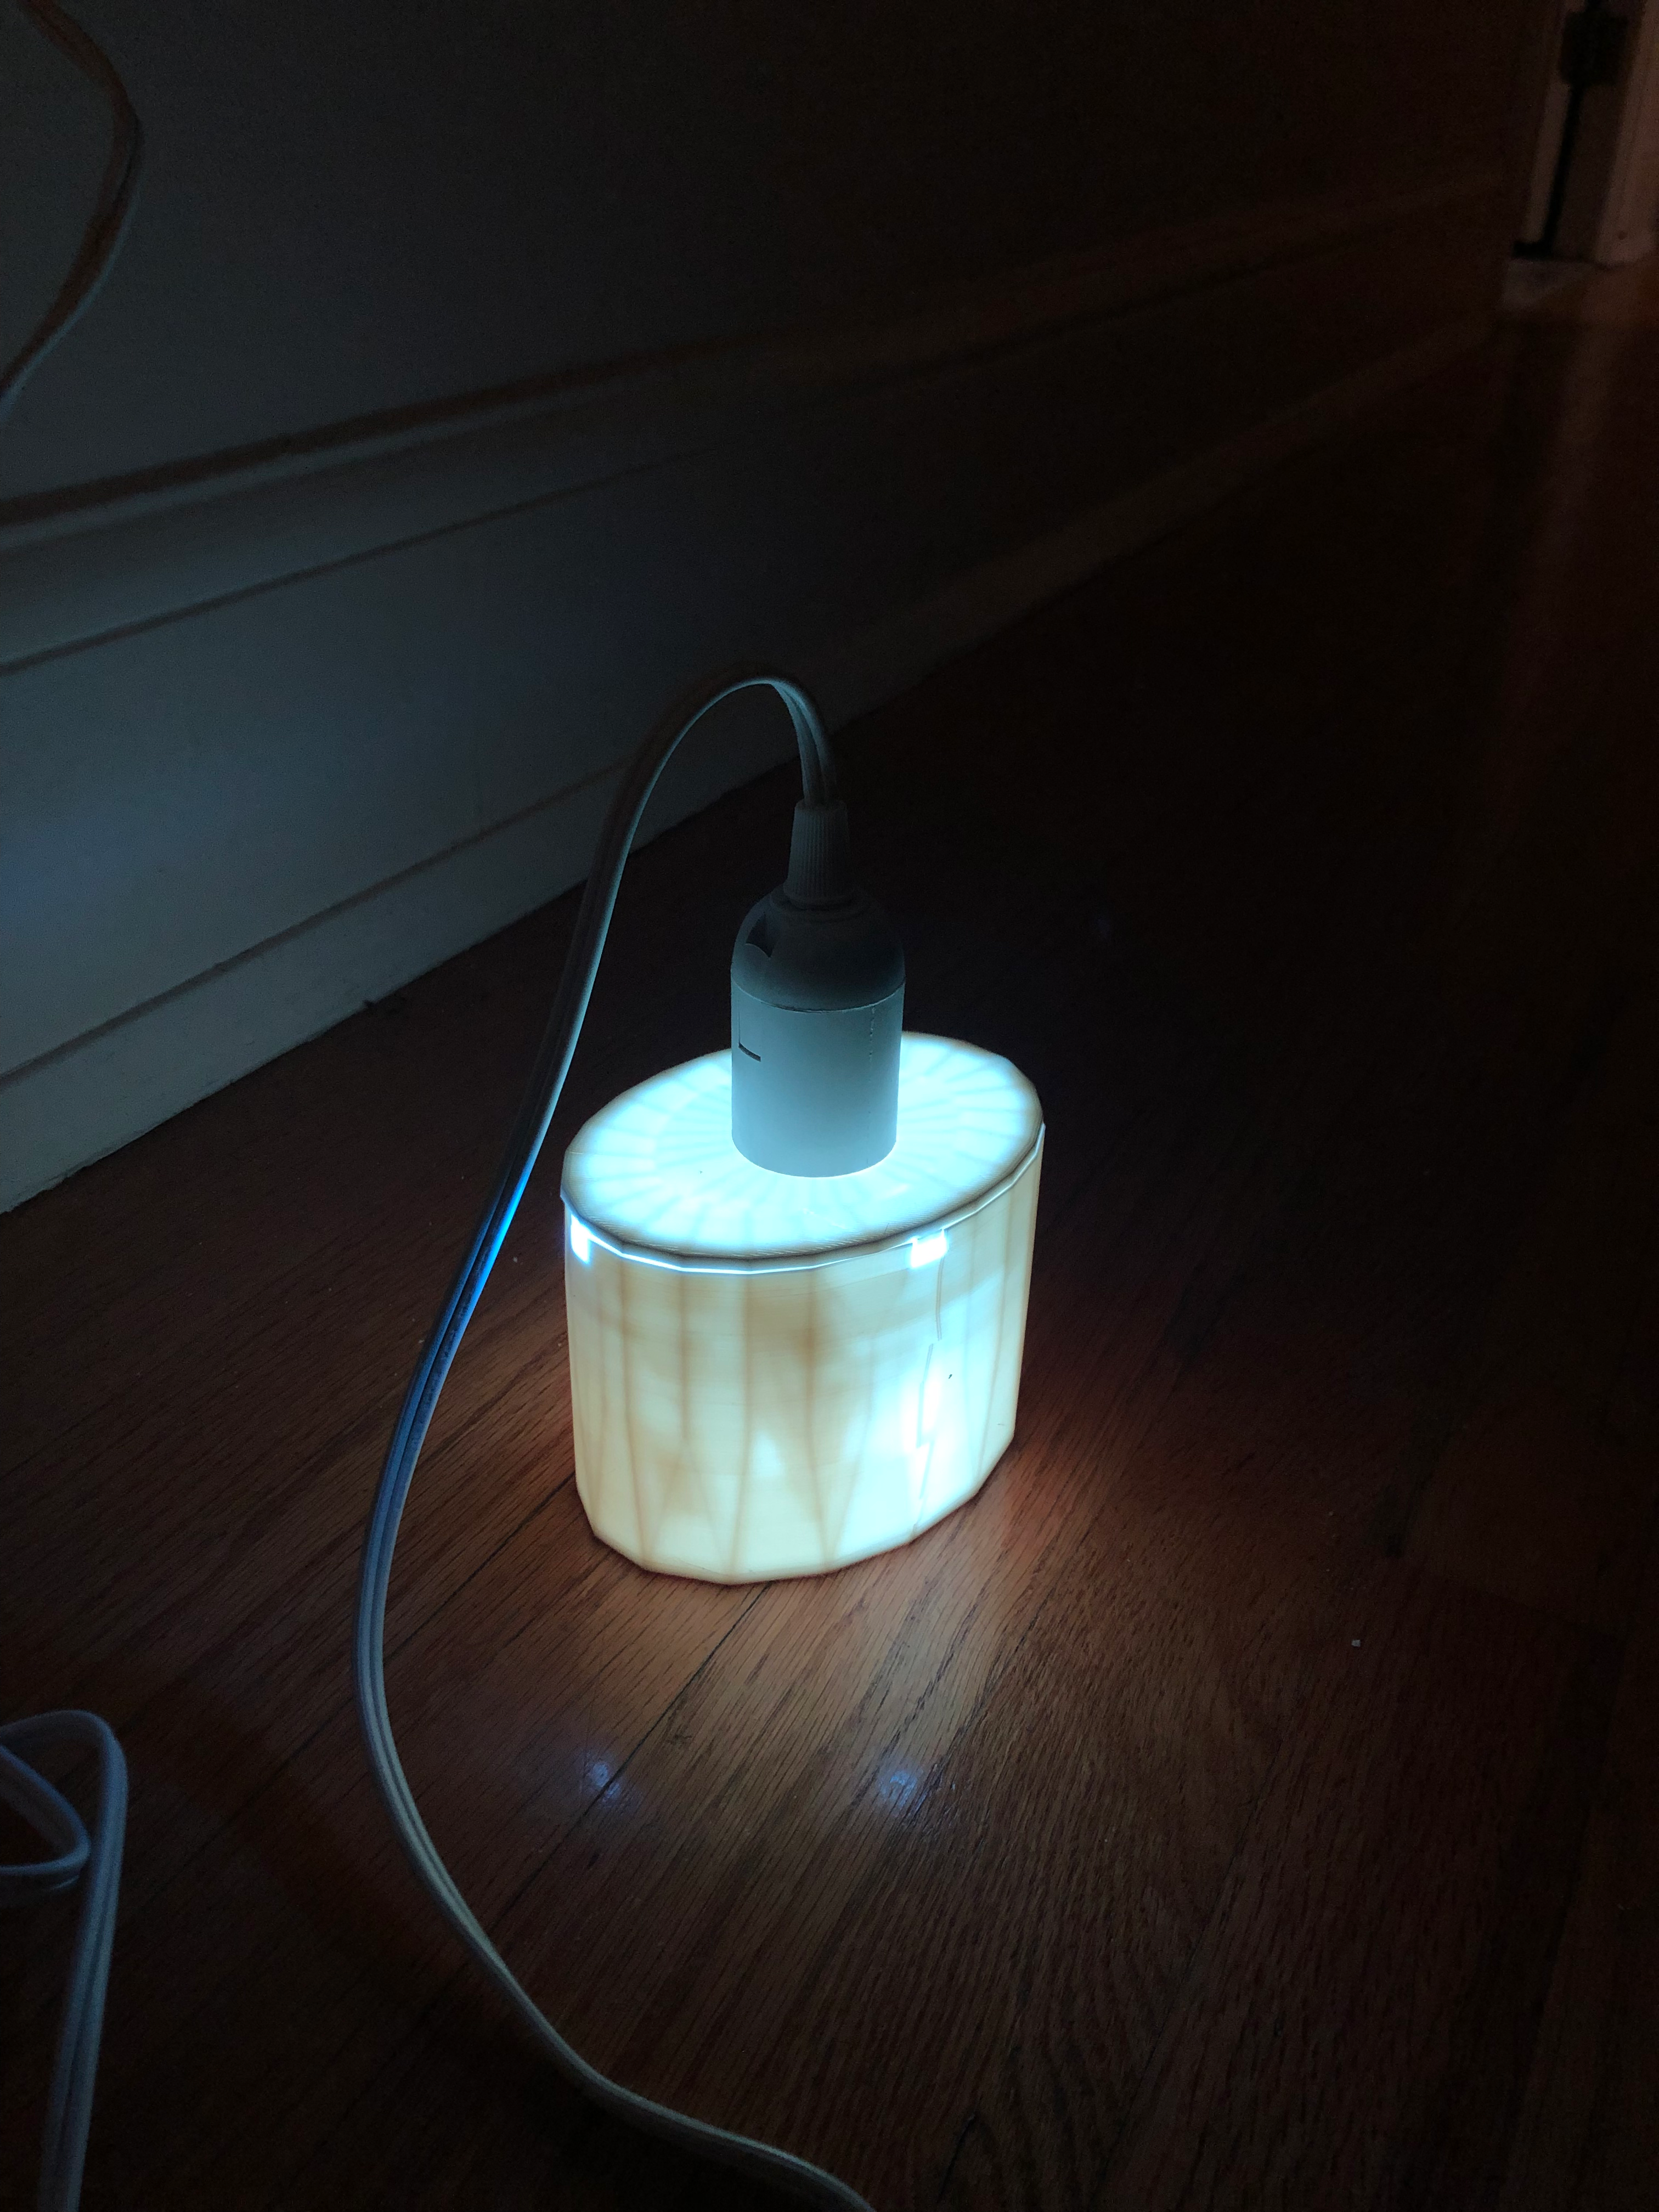
There are two open faces on the sides to install and uninstall the lightbulb. I think the light looks more interesting with two open sides. The box has the proper clearance for heat management of a LED bulb and an app controls its colors/brightness.
I made sure to use the acrylic adhesive to solidly attach the top to the two vertical sides because I knew it would be holding the weight of the light.
I'm really enjoying this lamp and I'm so glad I had the opportunity to learn with it. I can't wait to work with acrylic again in my final project, and I'm sure that I'll keep working with it as my preferred medium long term.
Build the Mold
I decided to design a lotion bar for my two-part mold. I wanted to make sure I was making a mold that I would use repeatedly because silicone isn't cheap. I knew that lotion bars would be great stocking stuffers for Christmas, and if my family likes them, I might sell them online or at a local craft fair. I've made lotion for myself occasionally because I grew up with eczema. It's a nice and relaxing thing to make.
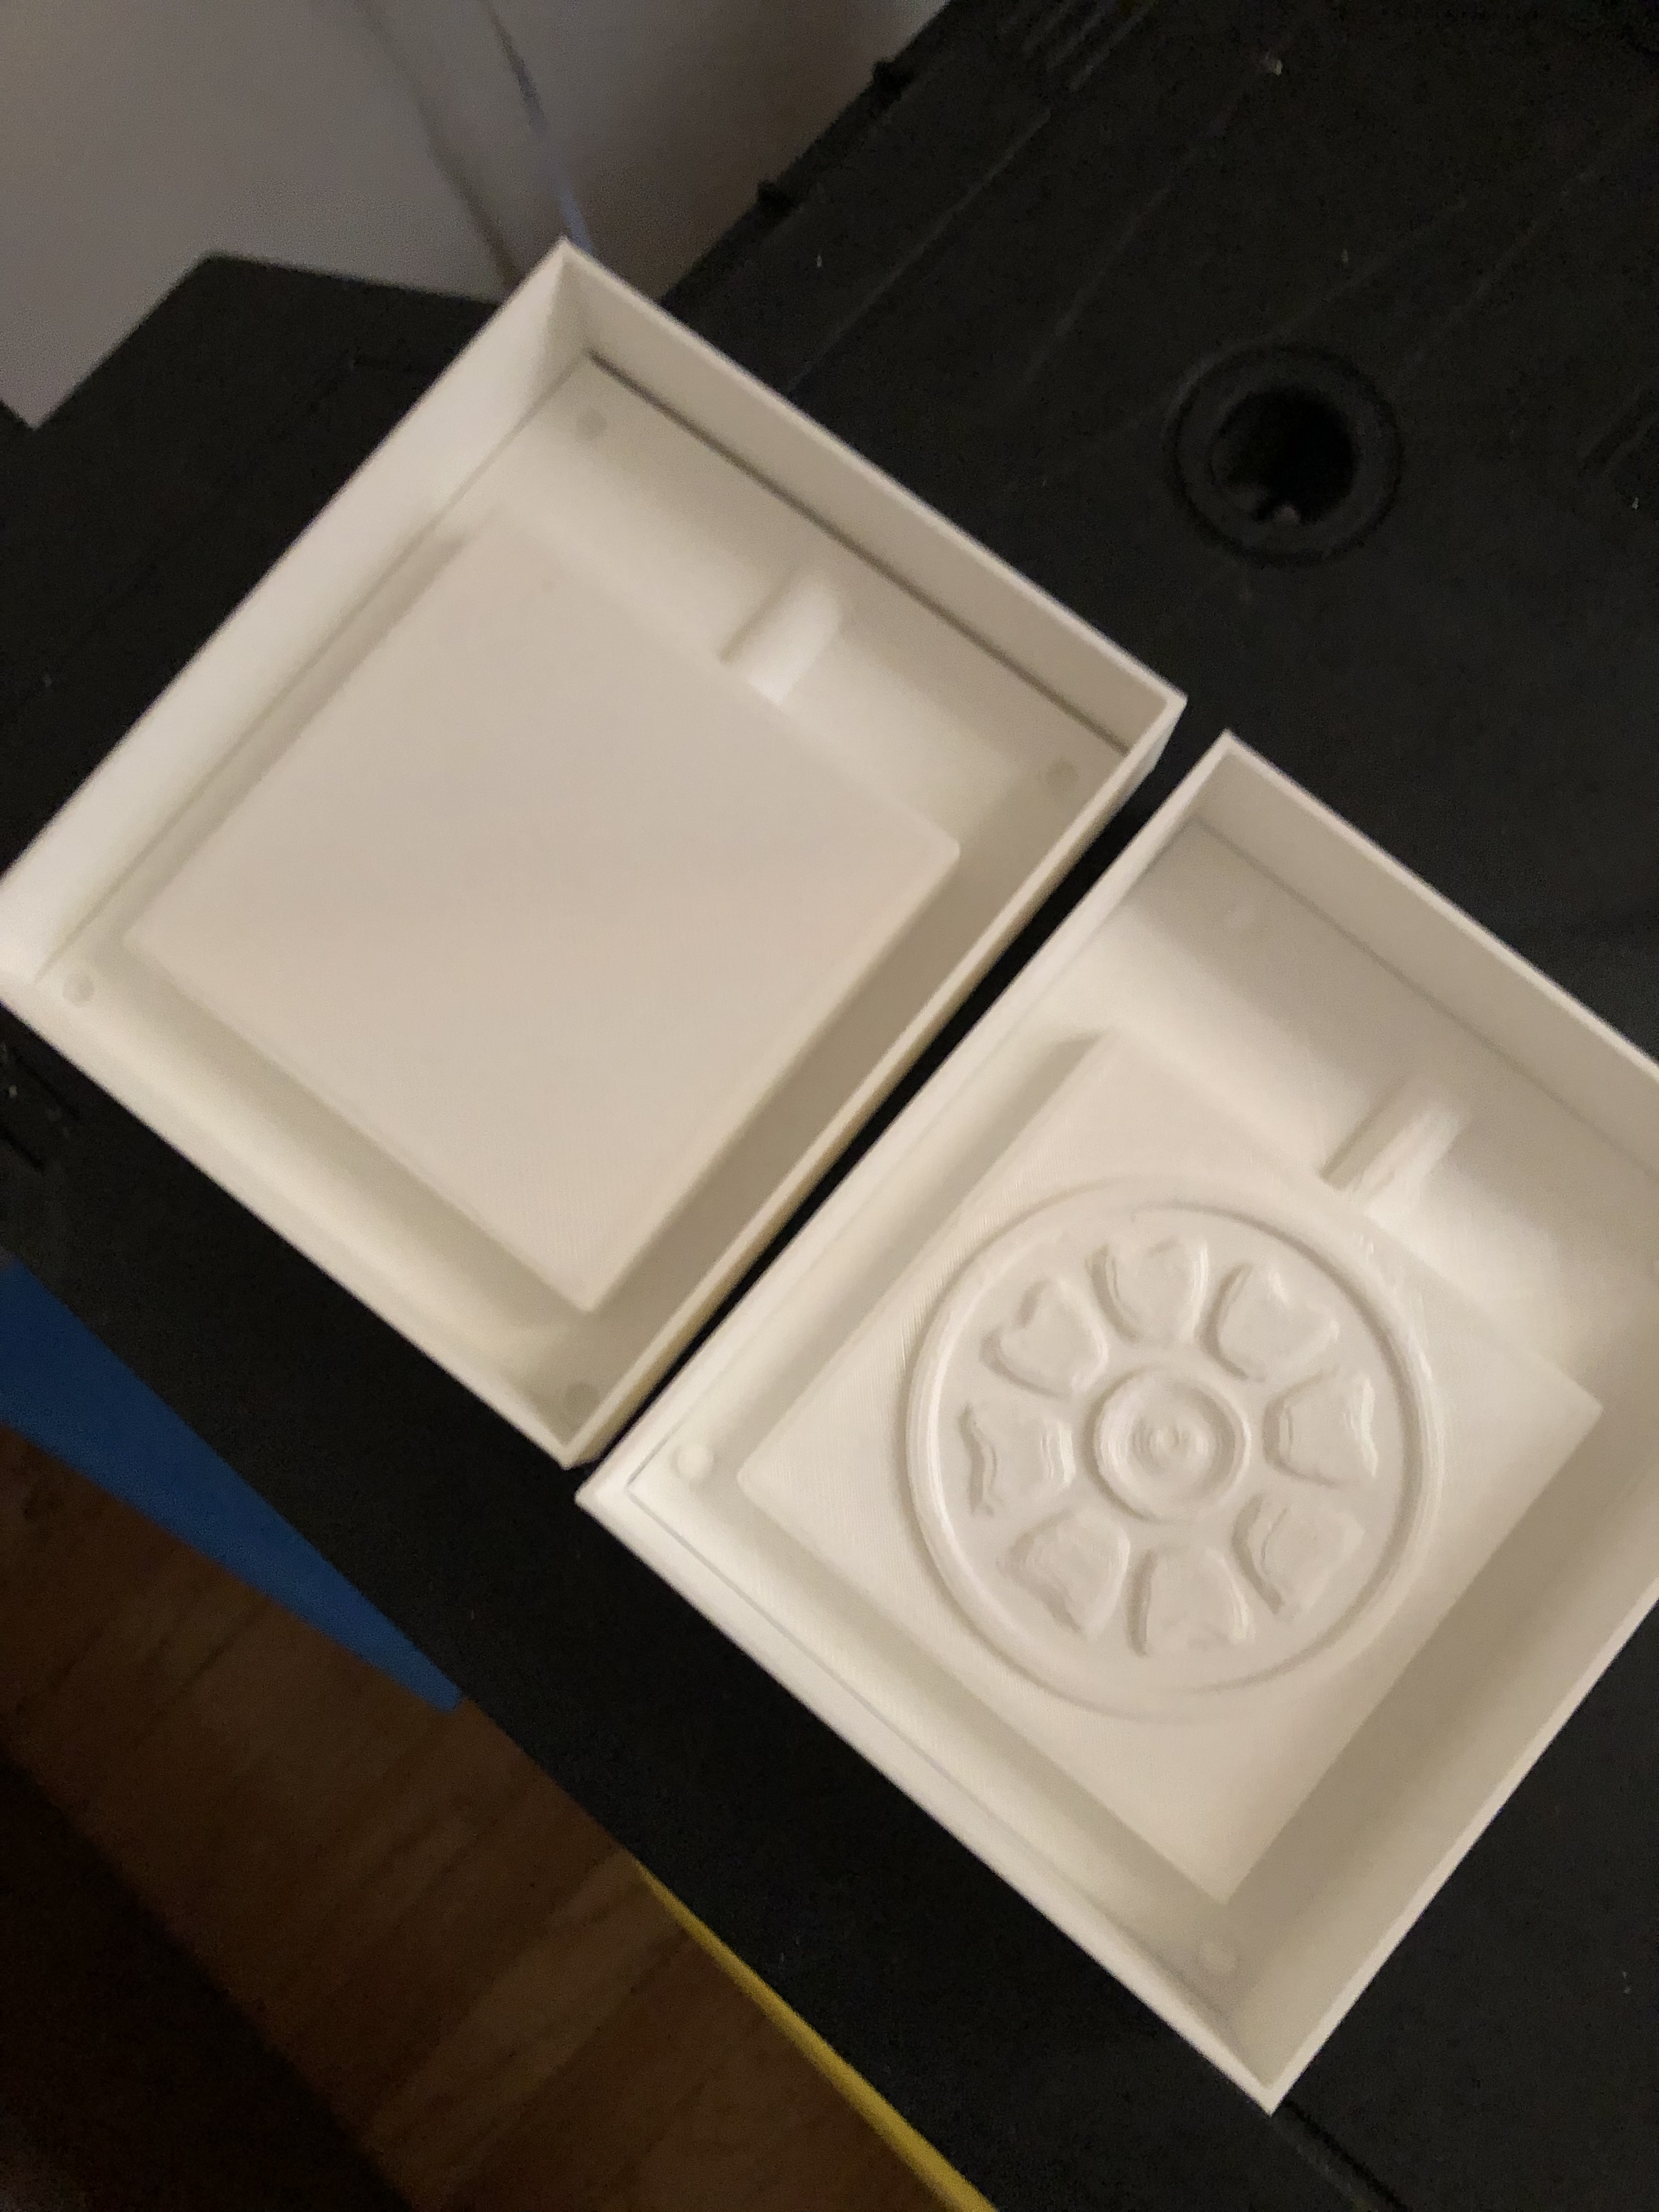
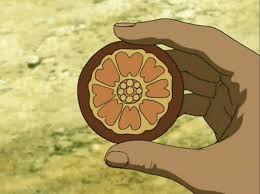
I wanted to personalize the bars, so I added a design to the top. I love Avatar the Last Airbender and remembered the Order of the White Lotus' calling card. It is a white lotus embossed playing piece from a game on the show. I thought the symbol was cute for cosmetics, but also subtle enough for non-fans to enjoy.
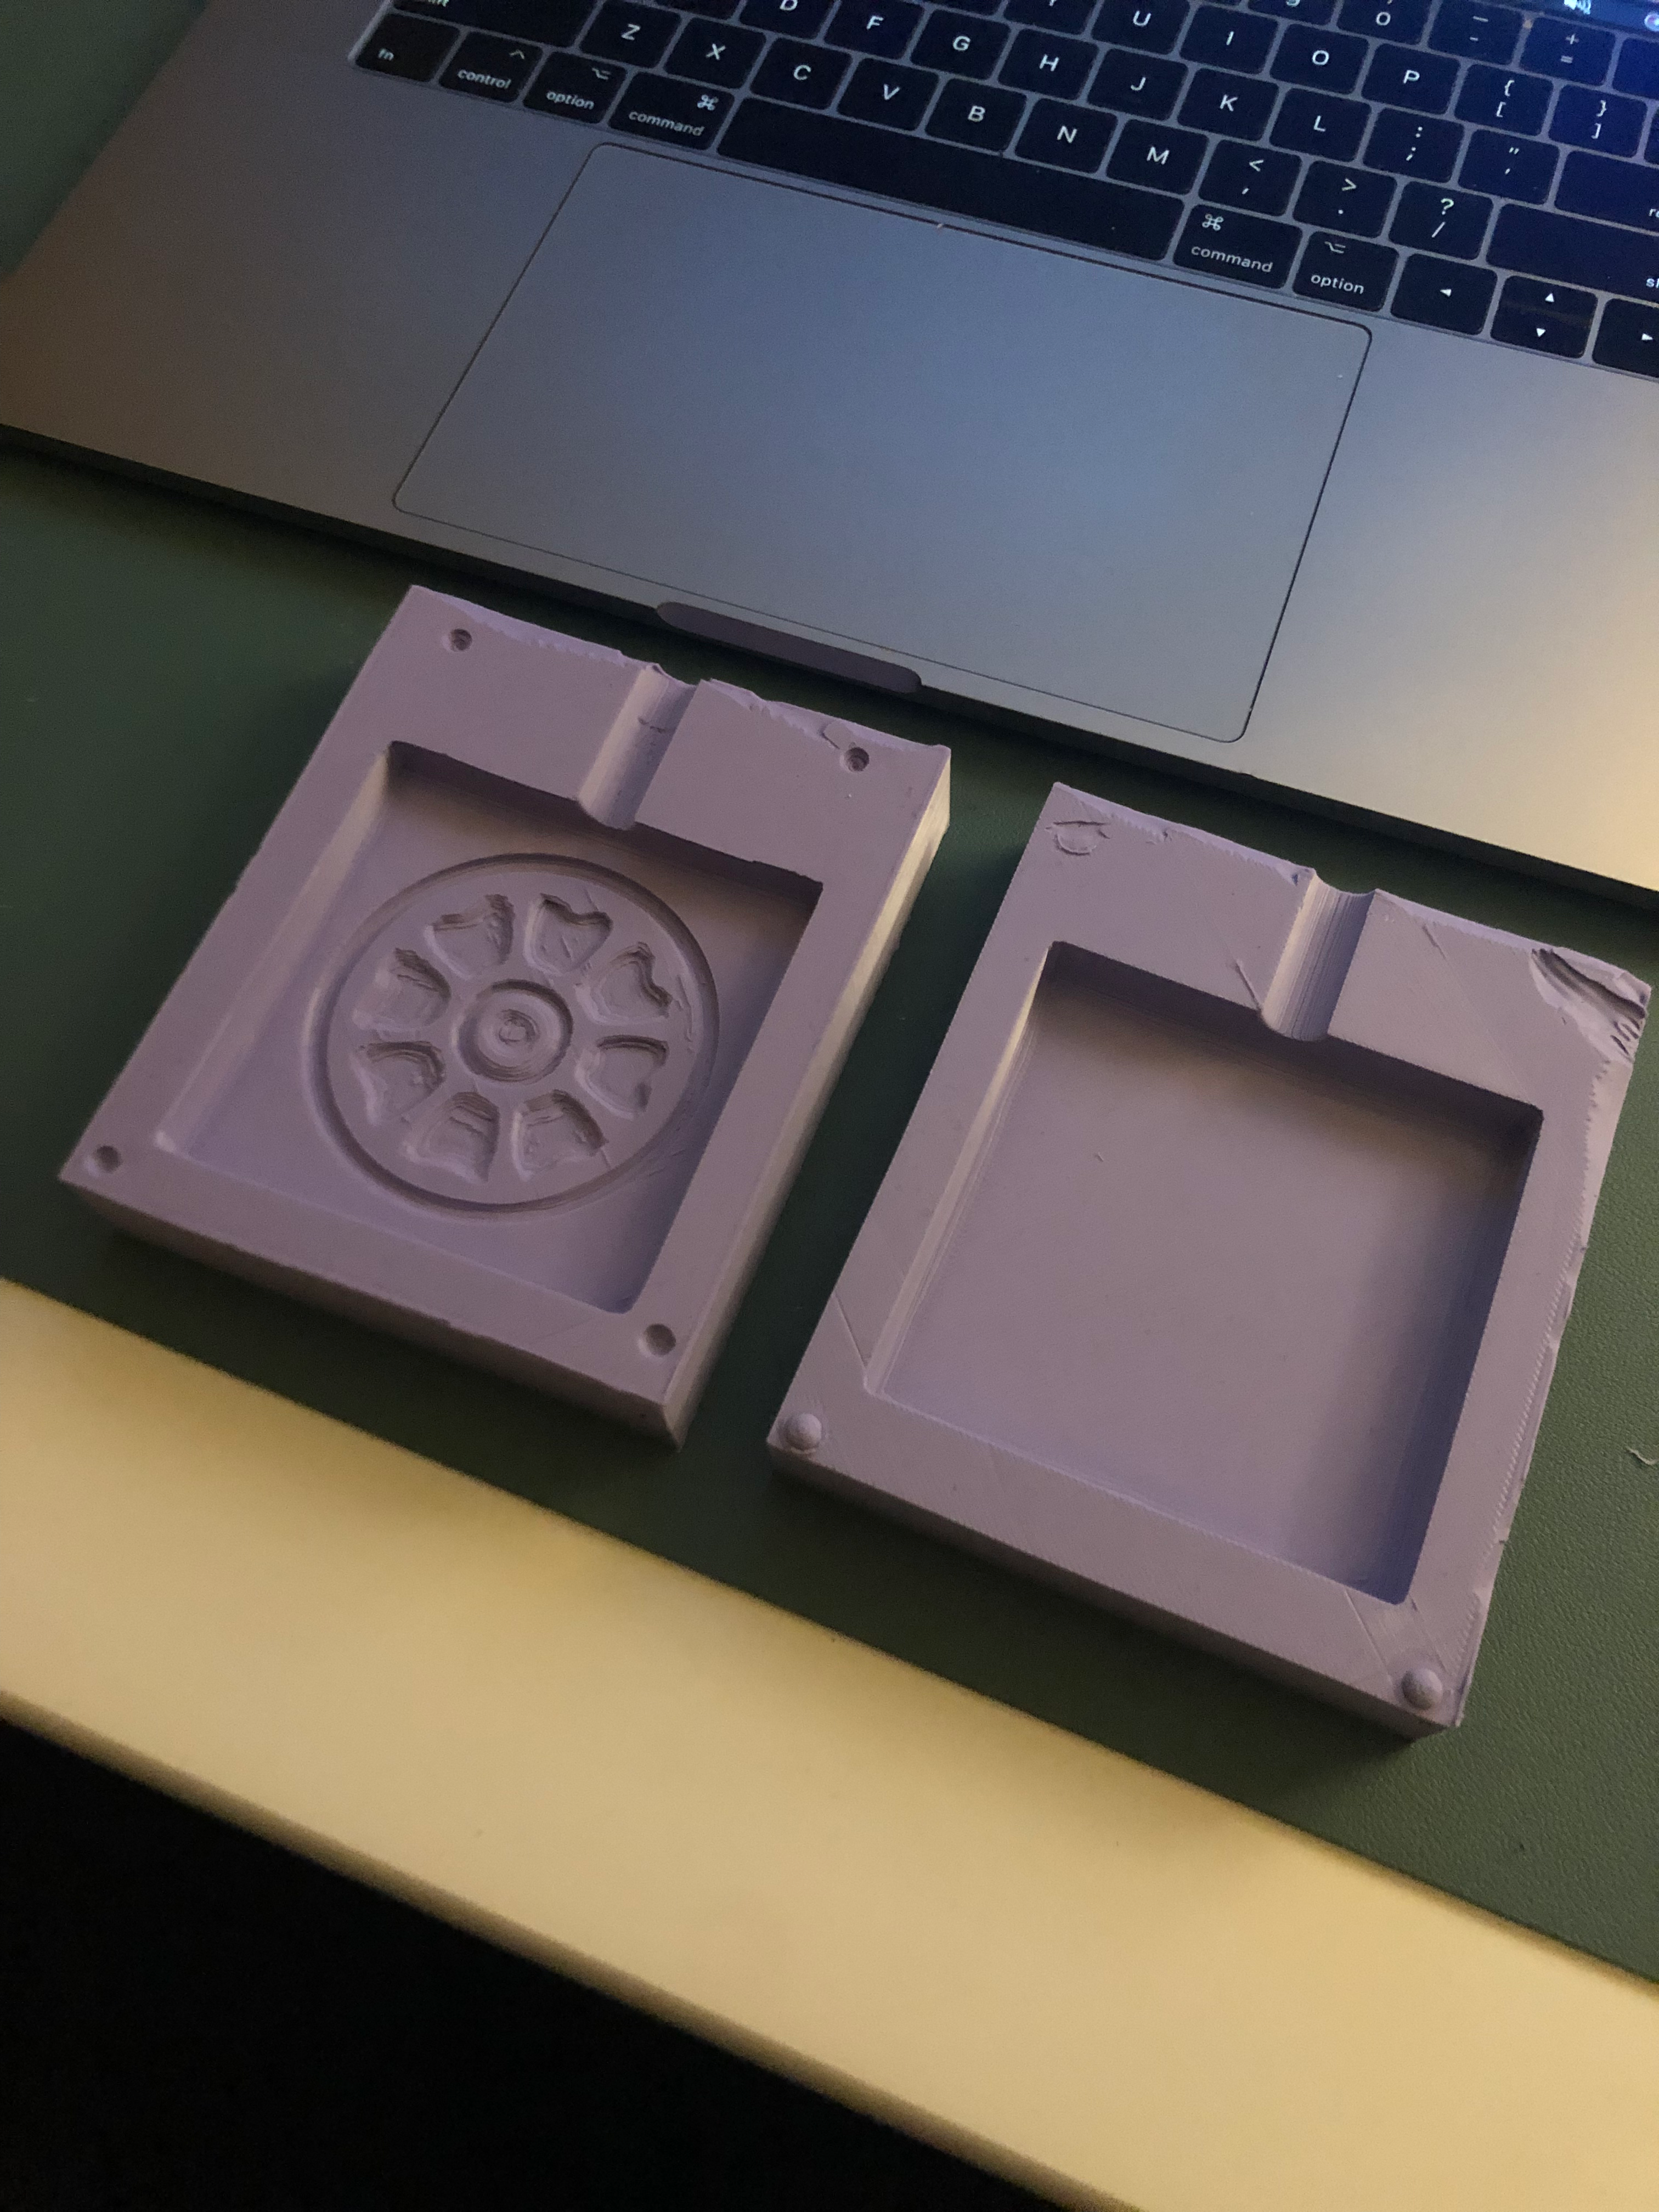
I made the bar by creating a box in Rhino and filleting the edges. Sharp edges on a lotion bar wouldn't be good for applying it and I think it looks nicer with the rounded edges.
I took this STL, repaired the mesh, resized it and joined it with the lotion bar container.
I modeled the mold in Rhino, then printed them overnight. Each side took about 6 hours, and I had to do one reprint. I realized after the first print that the spout didn't extend all the way to the border of the box, so I extended it. Shoutout to Tomomi's design for making me realize it.
I was worried that the lotus wouldn't come out well, but I think it looks great!
I'll be pouring my silicone tomorrow morning and hopefully it'll be cured by late tomorrow night.
I was going to cast all of them in plaster, but I thought it might be a waste of material if I just tossed them out afterwards. I'm going to cast in plaster once to make sure it works, then I have to leave for Thanksgiving (and I don't think TSA will be cool with me traveling with a baggie of white powder).
I'm planning on making one cast with the plaster from the MILL, but then I'm planning on casting it with a lotion recipe I have.
Making molds
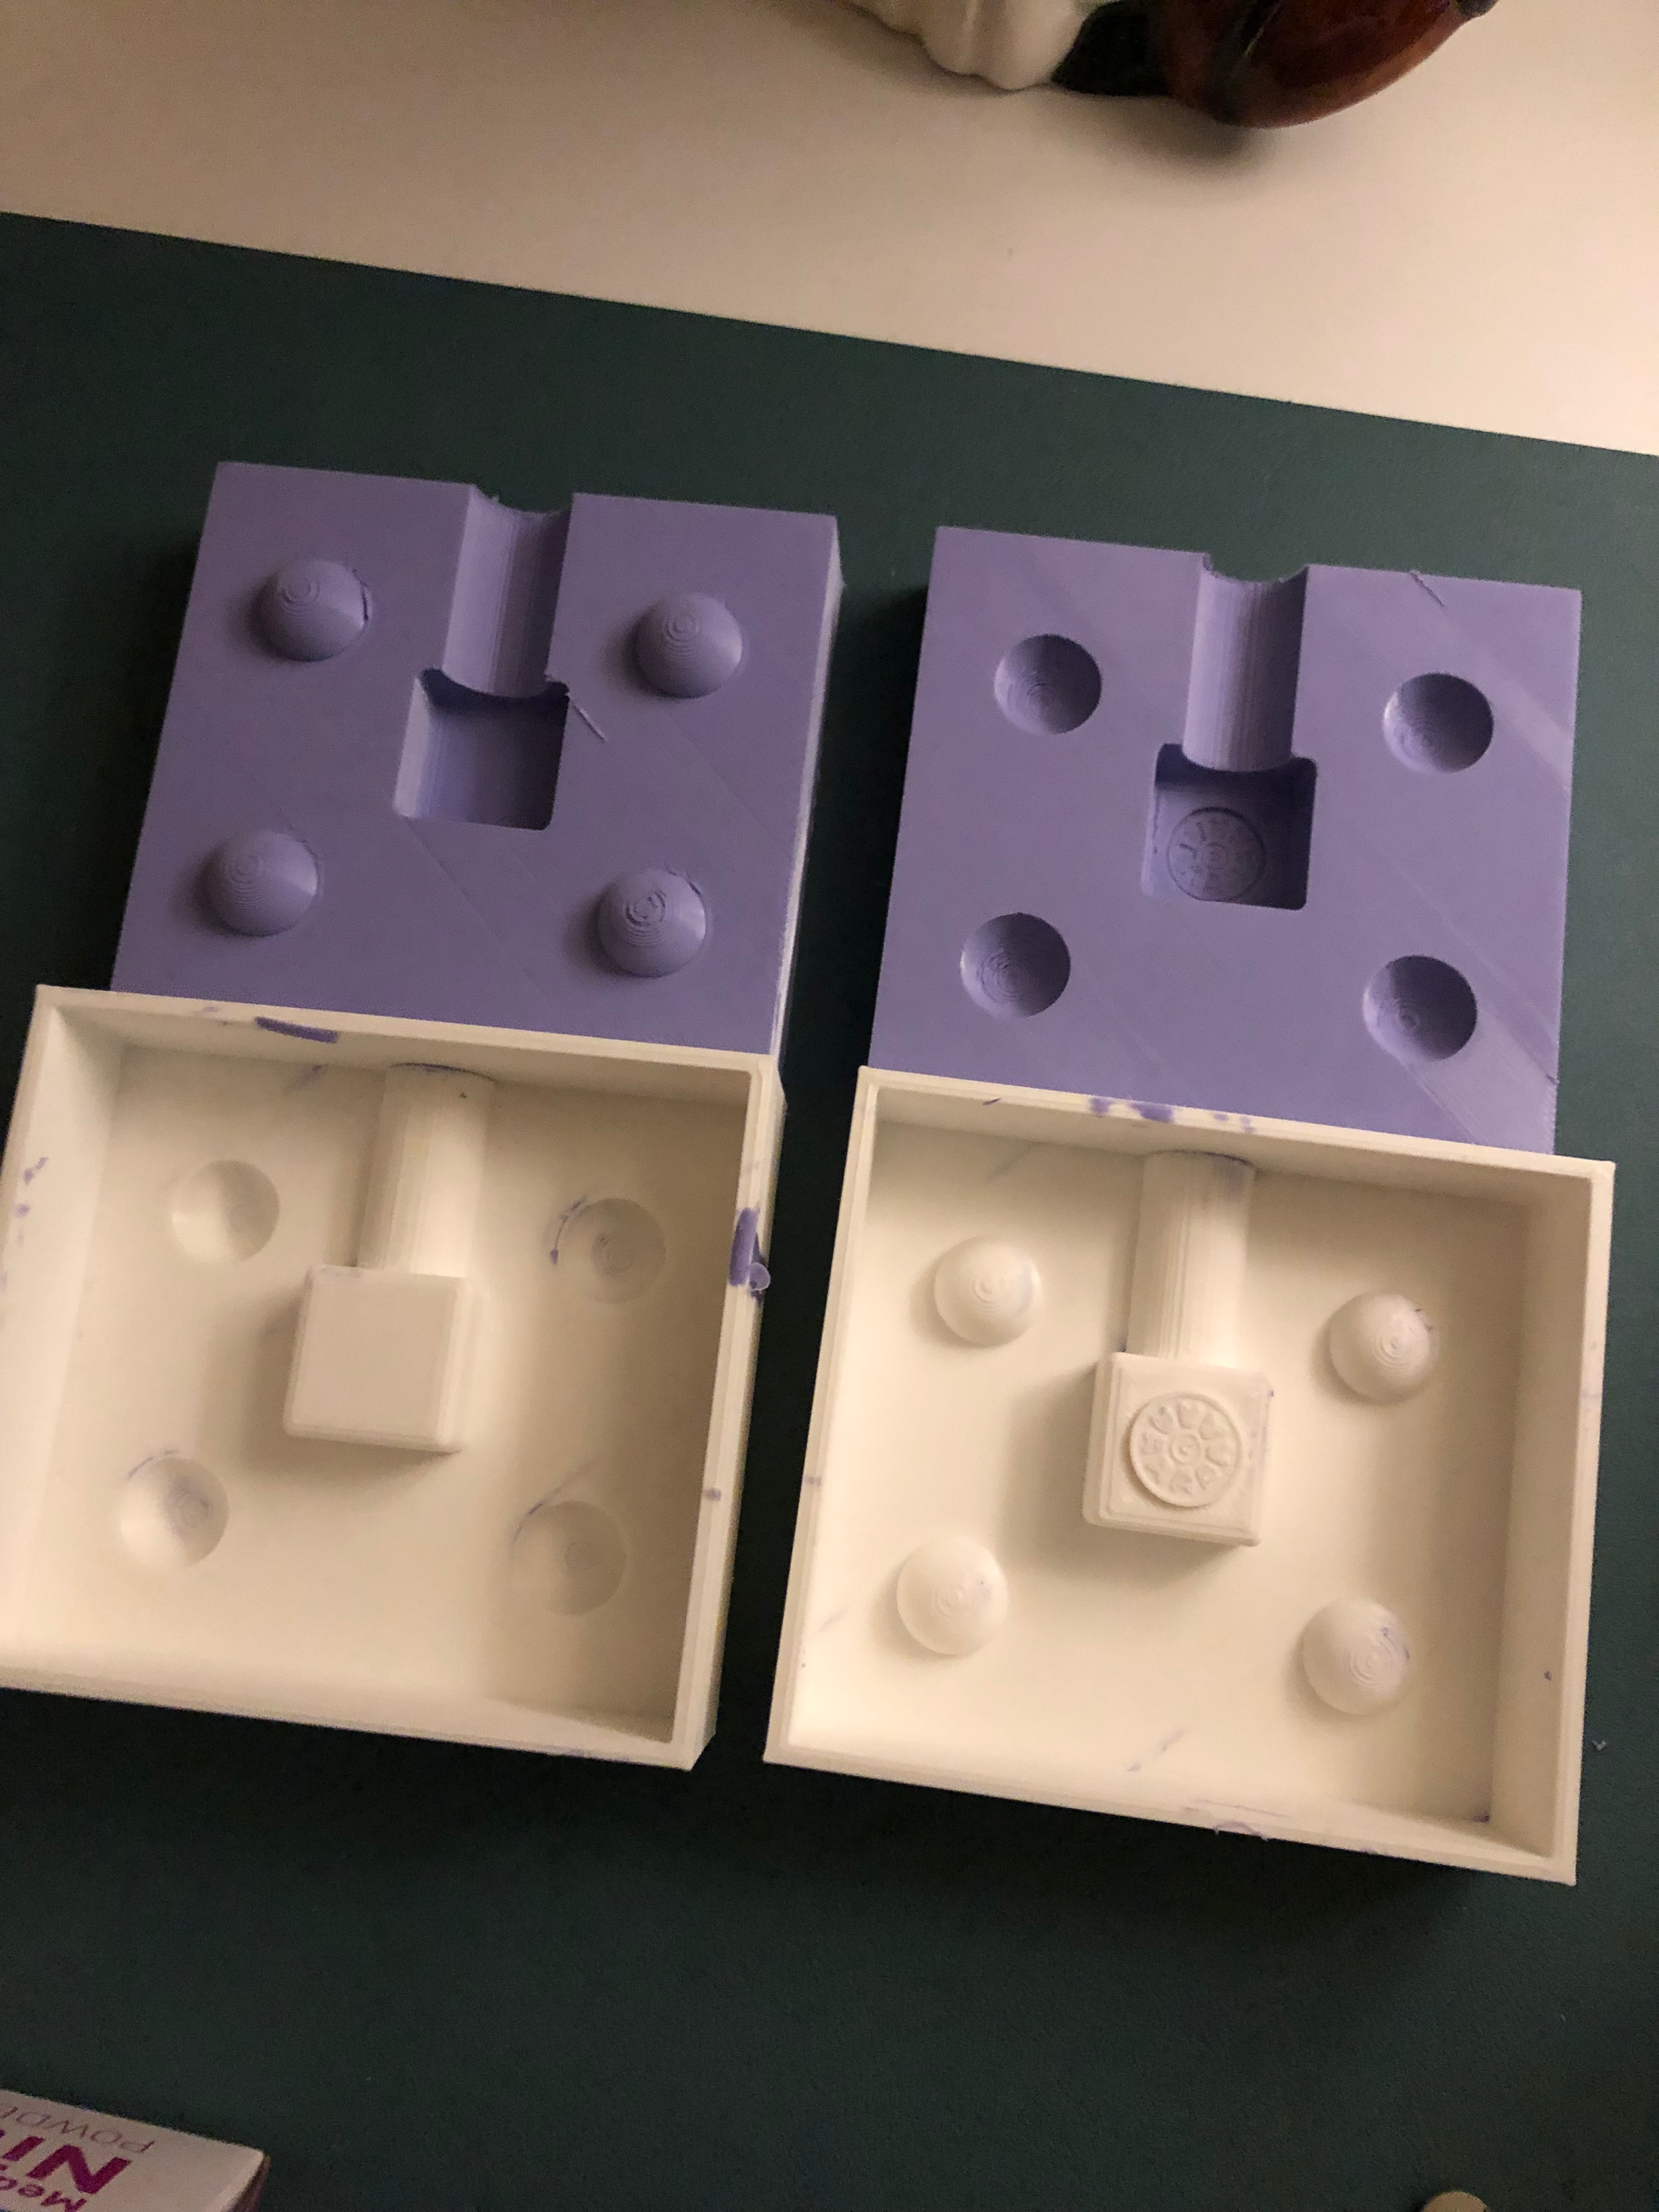
I mixed the Oomoo and poured it over my 3d prints to make silicone molds. My first mold poured well but my keys were too small to properly align the two pieces. I ran into more issues with my molds when I realized they didn't line up well enough.
I decided to design another mold with larger keys and be extra careful when aligning the two sides. I needed to drastically scale down my cube's size because I didn't have enough Oomoo to pour another full size mold.
Casting the plaster
I mixed the recommended 1:3 ratio of water to plaster powder for my casting. I used a small metal icing tip as a funnel in the spout of my mold to make pouring a little less messy.
I ended up with 5 rough casts of my cubes. I had one that died young, sadly. I was testing the amount of plaster to pour in the mold and accidentally poured too little.
My final cubes are cured and I'm cutting off the excess plaster and painting them to match the Order of the White Lotus' colors. I'll be sanding them with my dad as a fun Thanksgiving activity for two nerds.

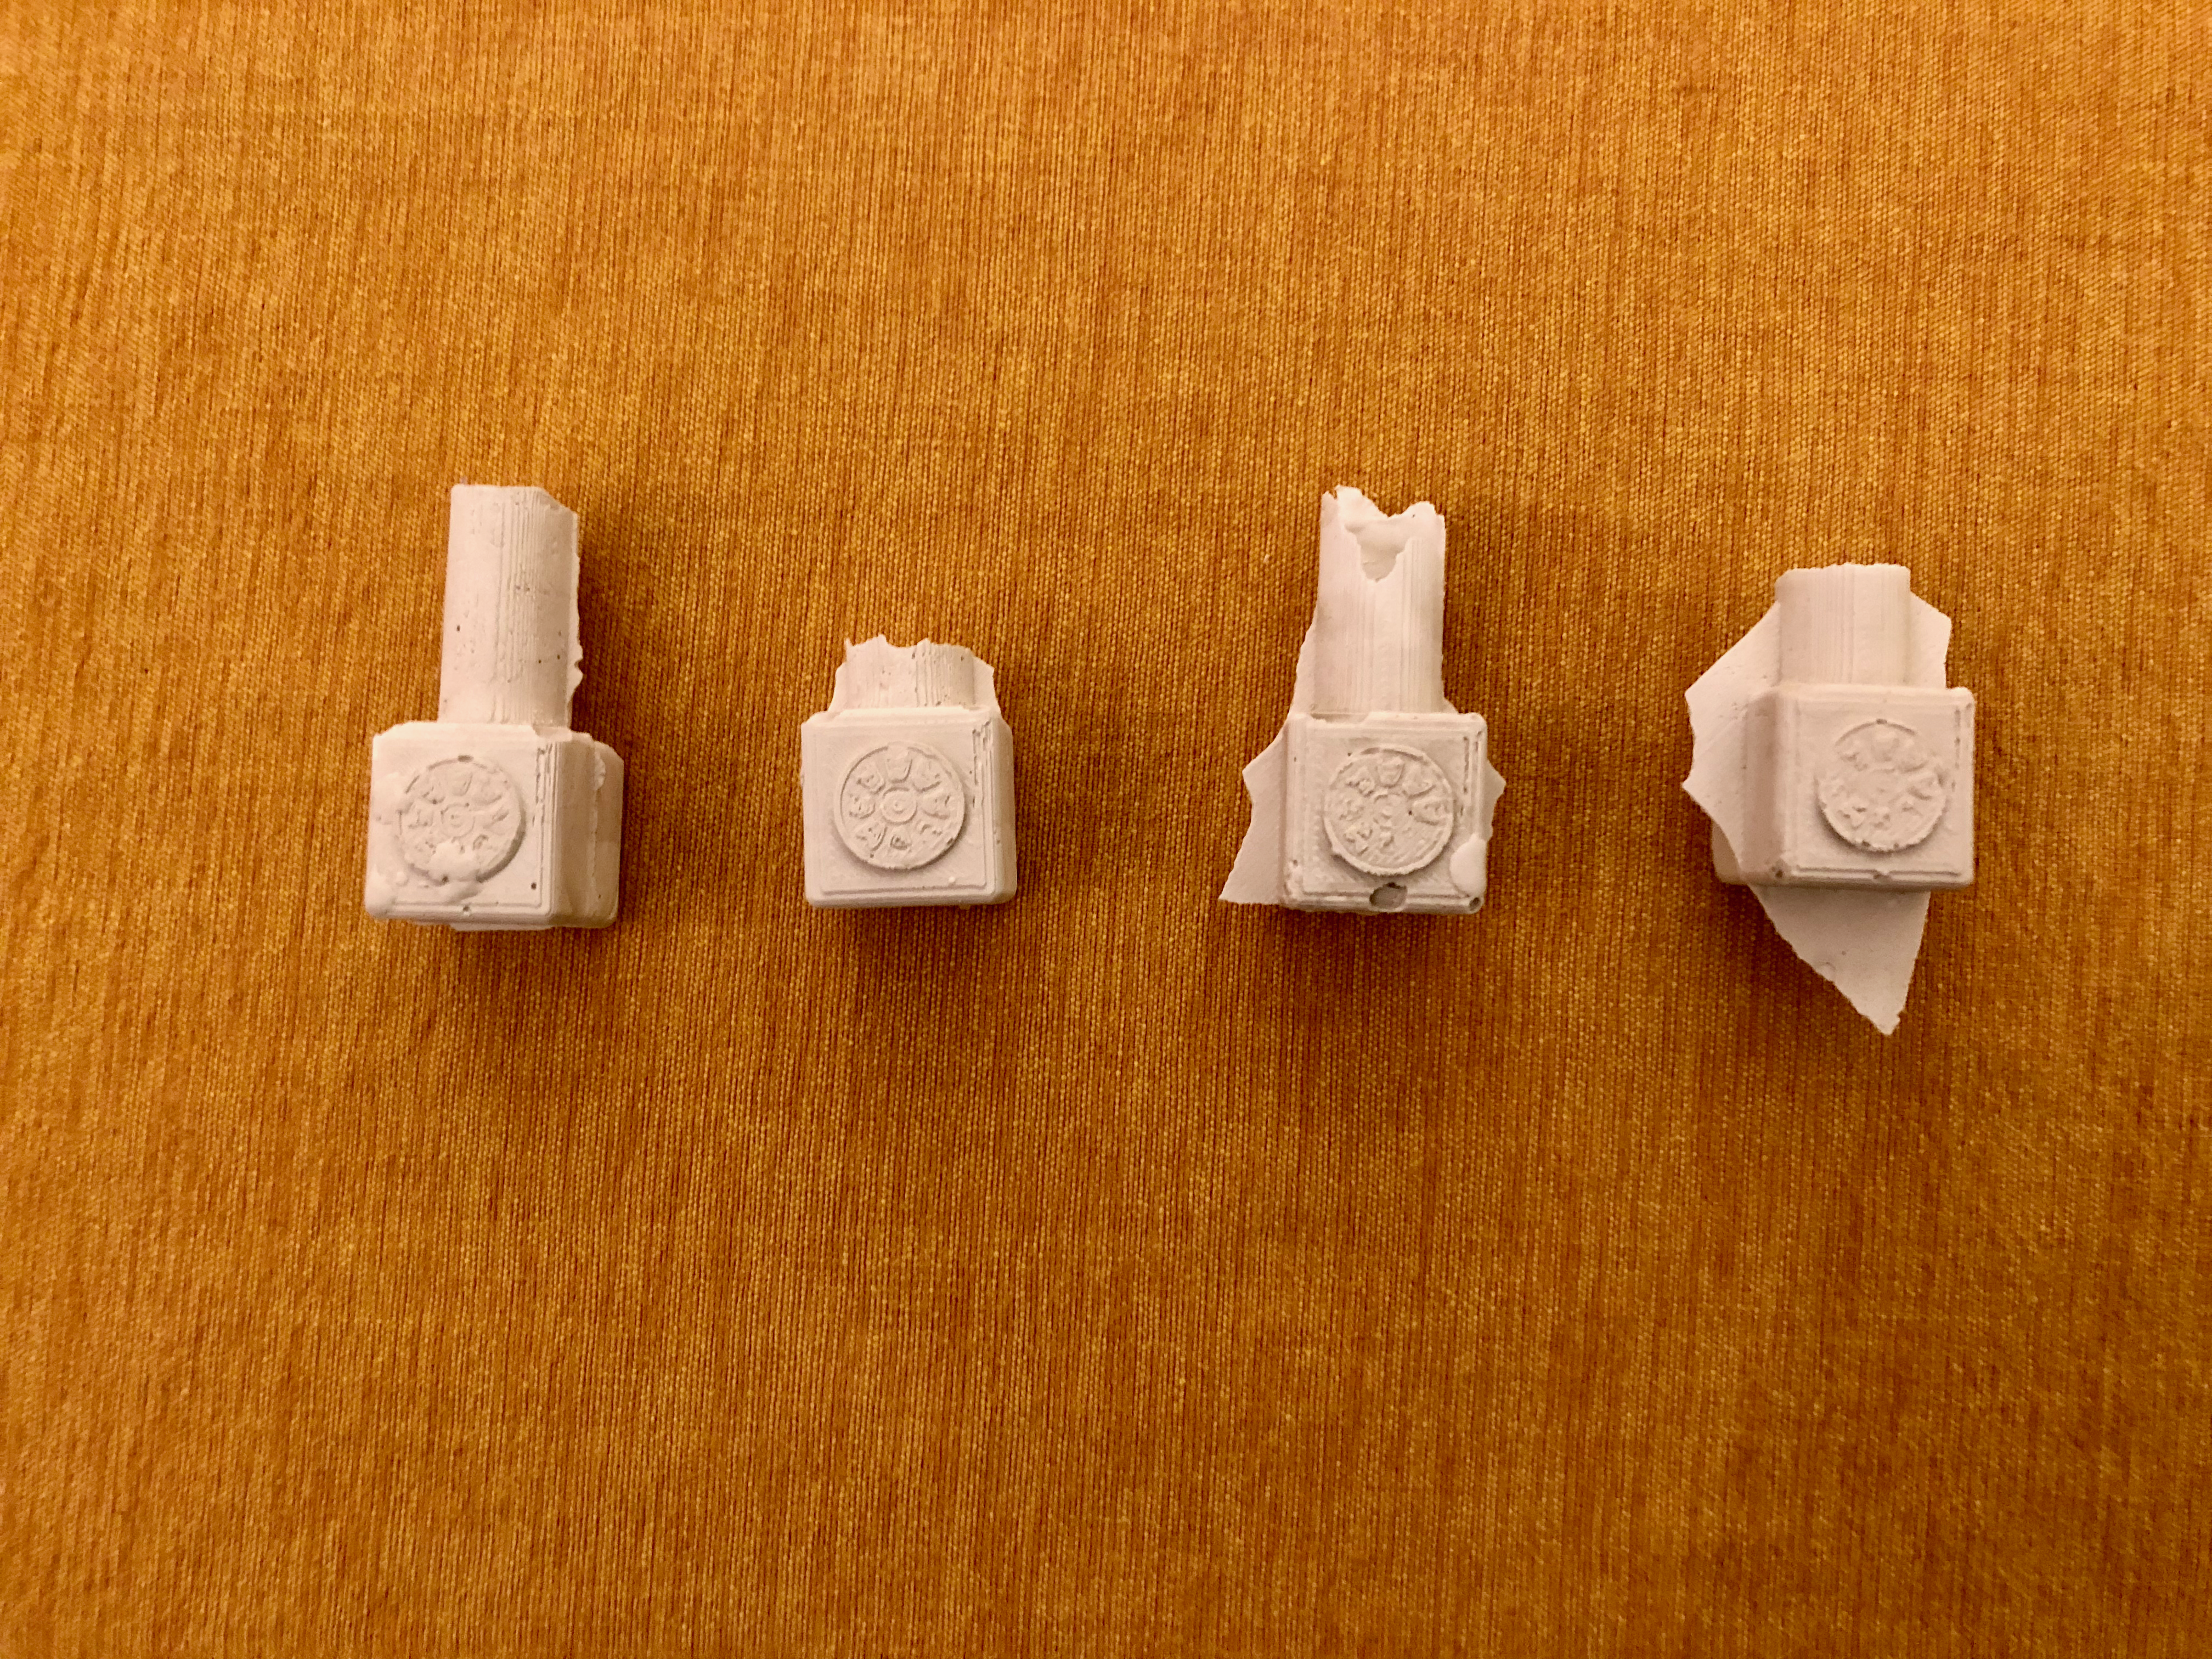
I do think the lotus pattern would show up better if I had greater difference in the heights of the icon. In future molds, I will emphasize shapes to help them retain their appearance in the casted item. I also think that I will sand my 3d prints more thoroughly because I could still see some lines from the infill pattern of my original print.